Preparing and disinfecting soil in the fall can save you time and ensure your seedlings have a healthy start in the spring. Here’s a detailed guide on how to effectively prepare and disinfect your soil using various methods:
Why Fall Preparation?
- Timing: Fall preparation allows soil to rest and settle before planting, making it ready for the spring.
- Improved Soil Health: Fall treatments can improve soil texture and fertility, reducing the risk of pests and diseases.
- Reduced Workload: Doing the work in the fall avoids the rush and challenges of springtime gardening.
Soil Disinfection Methods
- Steaming the Soil
- Purpose: Steaming is an effective way to kill microbes, pests, and weed seeds while increasing soil moisture.
- Procedure:
- Equipment: Use a bucket and a smaller pot with holes. Ensure the pot is slightly smaller than the bucket.
- Preparation: Fill the pot with soil. Fill the bucket with water, up to about a quarter of its volume.
- Steaming: Place the pot with soil over the steaming water in the bucket. Steam the soil for about 15 minutes.
- Cooling: Allow the soil to cool before using it.
- Advantages: Thoroughly disinfects the soil and enhances its structure.
- Boiling Water
- Purpose: This method is a quick way to disinfect the soil but is less effective against deep-seated pests and diseases.
- Procedure:
- Boil Water: Heat a large pot of water until it boils.
- Pouring: Carefully pour the boiling water over the soil in a thorough manner, ensuring even coverage.
- Cooling: Allow the soil to cool before using it.
- Advantages: Fast and simple, suitable for smaller amounts of soil or less contaminated soil.
- Manganese Solution
- Purpose: Manganese, or potassium permanganate, is effective against fungi and bacteria in the soil.
- Procedure:
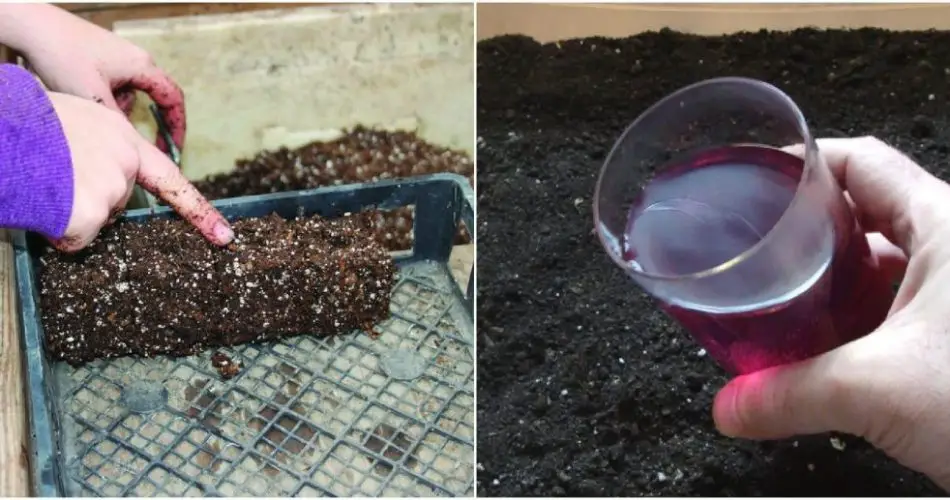
- Preparation: Dissolve a small amount of manganese in water to achieve a faint pink color.
- Application: Pour the solution evenly over the soil.
- Mixing: Allow the soil to absorb the solution and mix it well.
- Storage: Place the treated soil in bags, seal them hermetically, and store them in a dry, dark place until needed.
- Advantages: Effective and easy to use for small to moderate soil volumes.
Post-Treatment Care
- Storage: After treating the soil, store it in a cool, dry place to prevent contamination and ensure it remains ready for use.
- Mixing: Before planting, mix the treated soil well to ensure uniformity and avoid compacted areas.
Additional Tips
- Test Soil: Consider testing soil pH and nutrient levels before treatment to address specific needs.
- Composting: Adding compost can improve soil structure and fertility in addition to disinfection methods.
By preparing and disinfecting your soil in the fall, you set up a healthier environment for your seedlings, leading to better growth and a more successful garden.
Show Comments