As warm weather approaches, many of us start planning our garden for the year ahead. One crucial step in this process is preparing the right substrate mix for the initial growth of our plants. However, this can sometimes be costly, delaying our planting plans.

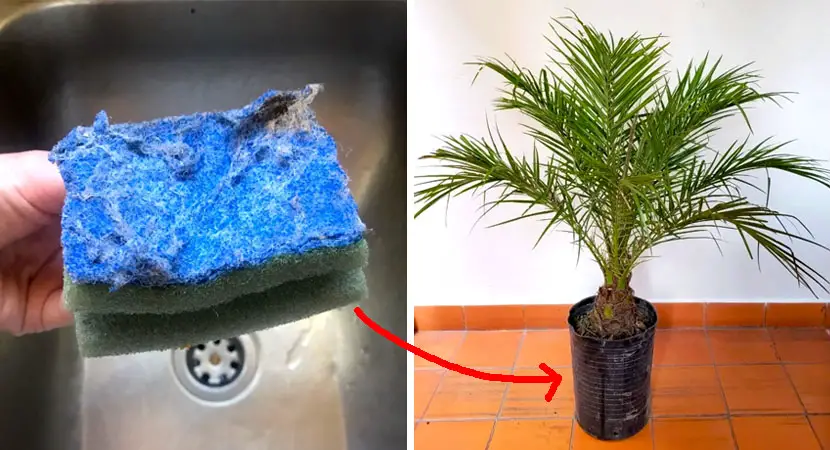
Fortunately, you don’t need to spend a fortune. With a bit of creativity, you can recycle everyday items to benefit your garden. Used dishwashing sponges, which often end up in the trash, can be incredibly useful for your plants. Here’s how to give these old sponges a new life and help your garden thrive.

1. Improve Substrate Quality
Disinfecting Sponges:
Start by gathering your old sponges and placing them in a container with water and a few drops of bleach. Let them soak for a few minutes to eliminate any food residues or potential fungi. After soaking, remove the sponges and let them dry thoroughly.
Required Materials:
- Disinfected sponges
- Scissors
- Alcohol
- Flowerpot
- Fertile soil
- Perlite
Instructions:
- Disinfect Scissors: Clean your scissors with alcohol to prevent contamination.
- Cut Sponges: Use the disinfected scissors to cut the sponges into small pieces. Their porous texture will enhance soil drainage, creating a well-aerated growing medium for your plants.
- Mix Substrate: In a bucket, combine soil with perlite. Add the sponge pieces to this mix. This new substrate can be used as a base for any potted plant, whether indoors or outdoors.
- Prepare Pot: Fill 1/4 of your pot with the sponge-soil mixture to create a well-draining base. Top it with fertile soil until the pot is full. The sponge layer at the bottom will help prevent waterlogging and retain excess moisture.
- Repot or Sow: Transplant your favorite plant into the pot. The sponge will help retain water and prevent the soil from drying out, especially useful when you’re away or if you accidentally overwater. Additionally, the sponge will slowly release any applied fertilizers, reducing the frequency of fertilization.
2. Create a Seed Germinator
Used sponges can also be utilized as a germination medium for seeds, eliminating the need for soil.
Required Materials:
- Disinfected sponges
- Scissors
- Alcohol
- Seeds
- Bottle with water
Instructions:
- Disinfect Scissors: Clean your scissors with alcohol to ensure they are free of contaminants.
- Prepare Sponges: Cut the sponge lengthwise down the center, making a slit about 1 cm deep.
- Insert Seeds: Place your selected seeds into the slit of the sponge.
- Moisture: Moisten the sponge with water to create a humid environment that promotes seed germination.
- Observe Growth: Within a few weeks, you should see the seeds sprouting through the slit in the sponge.
By repurposing used sponges, you can enhance your garden’s substrate and create an effective seed germinator. This not only helps reduce waste but also provides your plants with the care they need to grow strong and healthy.