Green Innovation: Crafting a Super Easy Vertical Vegetable Garden from Plastic Bottles at Home
Introduction: Transforming household items into functional and eco-friendly gardening solutions is a delightful endeavor. In this article, we’ll explore a super easy and creative way to build a vertical vegetable garden using plastic bottles. With this DIY project, you can not only repurpose plastic bottles but also cultivate a variety of vegetables in a space-efficient manner, bringing the joy of gardening to your home.
- Gather Your Materials: To get started on your vertical vegetable garden, collect the materials you’ll need. This includes plastic bottles (varying sizes for versatility), a sharp utility knife or scissors, a sturdy frame or structure to attach the bottles, potting soil, and your choice of vegetable seeds or seedlings.
- Cutting and Preparing the Bottles: Carefully cut the plastic bottles in half, creating two separate containers. The bottom part will serve as the planting container, while the top part functions as a protective cover for the soil. Ensure that the edges are smooth to avoid any injuries during the gardening process.
- Creating a Vertical Structure: Design a vertical structure to hold the plastic bottles. This can be as simple as attaching the bottles to a wooden frame, hanging them from a wall-mounted board, or arranging them in a tiered fashion. The idea is to make a secure structure that allows the bottles to hang vertically.
- Punching Holes for Hanging: Using a hole punch or a heated metal rod, create holes near the rim of the plastic bottles. These holes will serve as attachment points for hanging the bottles on your vertical structure. Ensure the holes are large enough to accommodate your chosen method of attachment, whether it be hooks, strings, or wires.
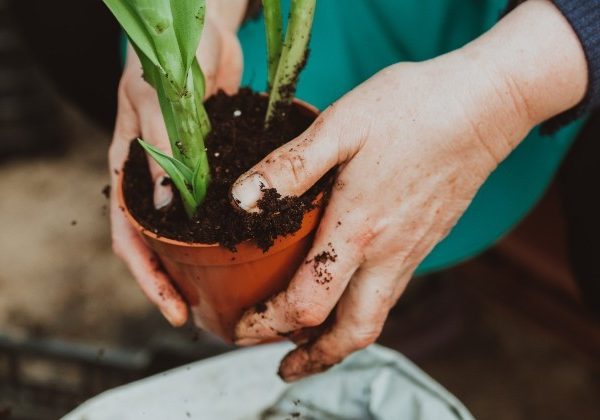
- Filling with Potting Soil: Fill the bottom halves of the plastic bottles with nutrient-rich potting soil. Ensure proper drainage by adding a layer of small stones or gravel at the bottom. Leave a small gap between the soil and the rim of the bottle.
- Planting Your Vegetables: Now comes the exciting part – planting your chosen vegetables. Select compact varieties like cherry tomatoes, herbs, or lettuce. Alternatively, use the vertical space to grow trailing vegetables like strawberries or cucumbers. Follow the recommended planting depth for each type of vegetable.
- Covering with the Top Half: Place the top halves of the plastic bottles over the planted bottom halves, creating a protective cover for the soil. This cover helps retain moisture, regulates temperature, and acts as a mini greenhouse for your growing vegetables.
- Attaching to the Vertical Structure: Hang the prepared plastic bottle planters onto your chosen vertical structure. Ensure they are securely attached and evenly spaced to allow for proper growth and sunlight exposure.
- Watering and Maintenance: Water your vertical vegetable garden regularly, ensuring the soil remains consistently moist. Monitor the growth of your vegetables and adjust the spacing as needed. Add fertilizer or compost to boost plant nutrition.
- Harvesting Your Vertical Bounty: As your vegetables grow, enjoy the satisfaction of harvesting your homegrown produce. Whether it’s vibrant herbs, juicy tomatoes, or crisp lettuce, your vertical vegetable garden promises a bounty of fresh and flavorful ingredients.
Conclusion: Crafting a vertical vegetable garden from plastic bottles is a brilliant and eco-friendly way to bring gardening into your home. This DIY project not only repurposes plastic waste but also allows you to cultivate a diverse array of vegetables in a space-efficient manner. Embrace the joy of sustainable gardening and savor the fruits of your creative and eco-conscious efforts. Happy gardening!