Orchids are beautiful, low-maintenance indoor plants that can thrive even for those without a green thumb. However, when they lose their roots, it can be a cause of concern. Don’t worry! There is an easy way to revive an orchid with no roots. Follow this simple method, and you’ll never have to worry about a rootless orchid again.
Why Orchids Are So Easy to Care For 🌸
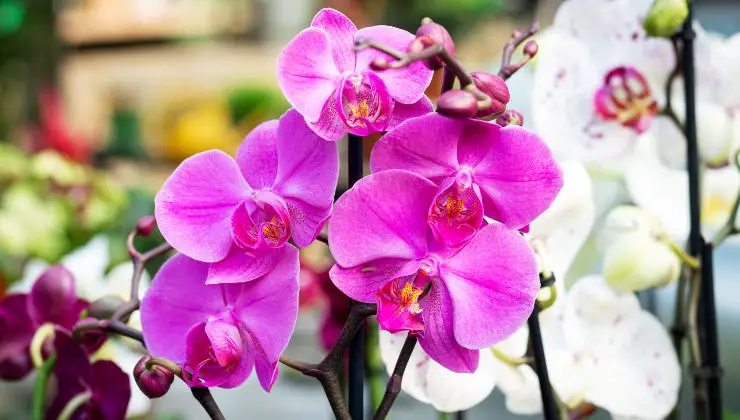
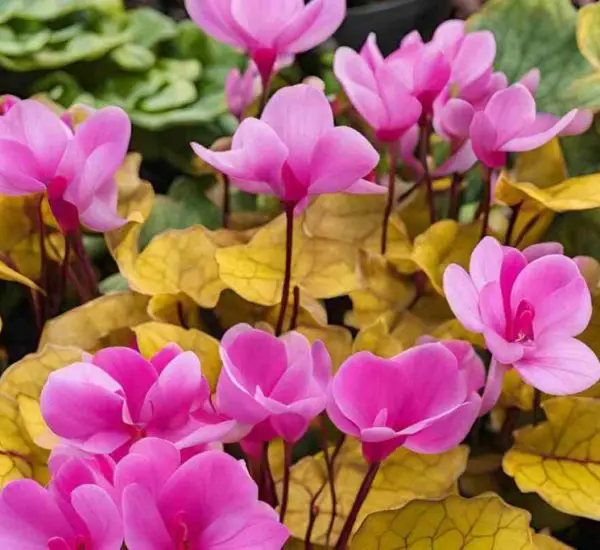
Orchids are perfect for beginners because they require minimal care. They do best when placed in indirect light, away from drafts or open windows. Additionally, water them sparingly, keeping the soil moist but not soaked. Regular fertilizing with natural fertilizers can help too.
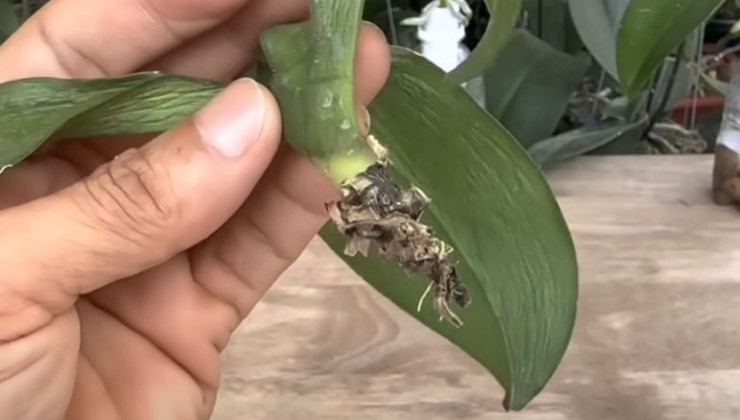
While orchids are generally resilient, a rootless orchid can be a challenge. If you find yourself with a sad, rootless orchid, don’t panic! With a little effort, you can restore its health and vitality.
How to Revive a Rootless Orchid 🌱
Follow these steps, and you will breathe life back into your rootless orchid. It’s a straightforward process, even for those new to plant care.
- Trim the Dry Roots:
Start by inspecting the roots of the orchid. If the roots are completely dry and black, you should trim them off. Healthy orchid roots are typically green to gray in color, so any roots that don’t fit this description should be removed. - Prepare the Garlic Solution:
Garlic has natural antibacterial and antiseptic properties, making it an excellent aid for plant recovery. Take a clove of garlic, crush it using a garlic press or mortar, and mix it with half a liter of water. Strain the mixture to remove any solid pieces. - Soak the Orchid in Garlic Water:
Soak a cotton pad in the garlic water and gently wipe it across all the leaves of the orchid. Then, place the orchid’s stem in a glass of garlic water, ensuring that the base is submerged. Let it soak for 30 minutes to absorb the nutrients. - Prepare the Potting Setup:
Next, fill a pot with terracotta seeds. These will help maintain moisture around the orchid. Lay a piece of soft, absorbent cloth (such as gauze) on top of the seeds.
Creating the Perfect Environment for Your Orchid 🌿

- Bottle Setup:
To create a stable environment for your orchid, take a plastic bottle and cut it into two parts: the neck (around 5 cm) and the bottom (around 10 cm). Squeeze the cloth to remove excess water and wrap it around the base of the orchid stem. - Assemble the Orchid Holder:
Insert the gauze-wrapped orchid stem into the neck of the bottle (narrowest part). Pour water into the bottom of the bottle and place it carefully. The cloth will absorb the water, ensuring the base of the orchid stays moist. - Final Steps:
Close the bottle by placing the bottom section over the neck. This setup creates a humid microenvironment around the orchid, promoting new root growth. Place the bottle in a cool area and spray the leaves every 2 days to keep them hydrated.
Patience Pays Off: The Results ⏳
After two weeks, you should start noticing signs of life. Change the water whenever it gets dirty or low. Within two months, you’ll see new roots beginning to form. Once the roots are about 6-7 centimeters long, you can repot your orchid into its permanent home.
By following this method, you’ll ensure your orchid thrives again, and you’ll never have to worry about a rootless orchid again! 🌸