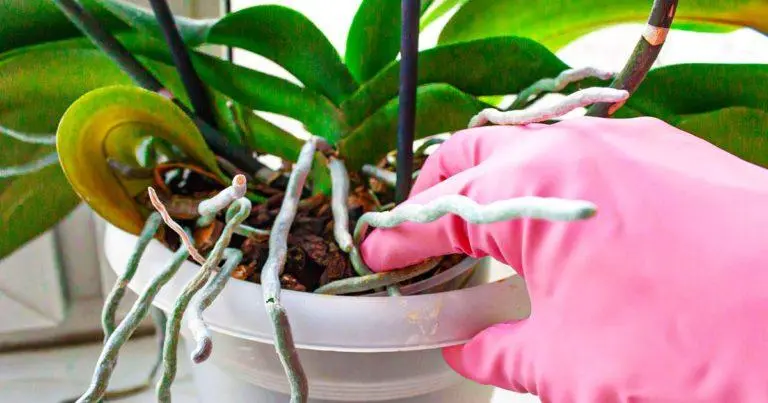
Have your orchid roots decided to stage a rebellion and venture beyond the confines of their pot?
Fret not, for this is not a botanical uprising but a natural occurrence. Orchids, especially epiphytic varieties like phalaenopsis, often extend their aerial roots in search of moisture. In this guide, we unravel the mysteries of orchid roots, from the why to the how of handling their escape.
Understanding Orchid Roots: Nature’s Design
- Epiphytic Marvels:
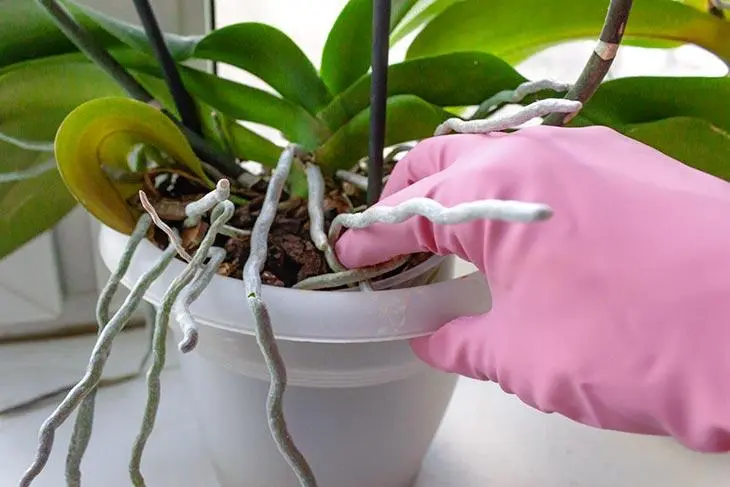
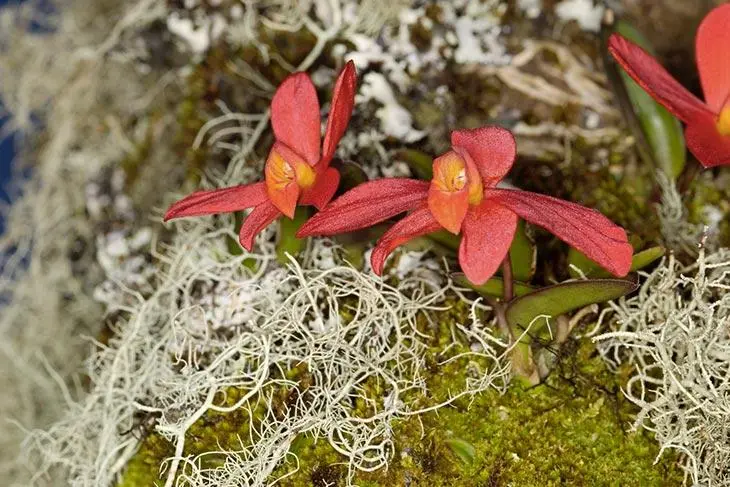
- Orchids, inherently epiphytic, possess aerial roots that aid in absorbing moisture and nutrients from the air.
- These roots, covered with velamen—a spongy layer of dead cells—act as a thin skin, facilitating water and nutrient absorption while anchoring the orchid to its habitat.
- Humidity Hunters:
- Epiphytic orchids, accustomed to tropical environments, generate aerial roots when seeking higher humidity.
- Homes with lower humidity levels might witness these roots extending beyond the pot in a quest for atmospheric moisture.
What to Do with Orchid Roots on the Move: A Step-by-Step Guide
- Repotting Ritual:
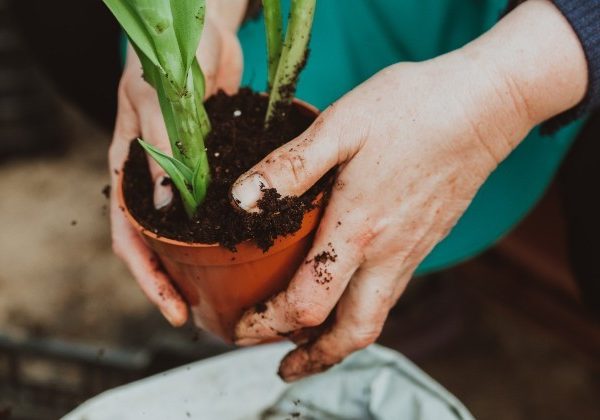
- Soak the orchid pot in cool water for 30 minutes before repotting to soften the growing medium.
- Check the root color; green or white roots signify a healthy plant.
- Cut off any brown or dead aerial roots using disinfected pruning shears.
- Choosing a New Abode:
- Select a transparent pot slightly larger than the current one to allow roots access to light.
- Ensure the pot has drainage holes to prevent water stagnation, which can lead to root rot.
- Opt for orchid-specific soil or a bark mixture for good drainage.
- The Orchid Spa Day:
- Gently remove the orchid from its pot, being cautious not to damage healthy roots.
- Place the orchid in its new pot without bending or compressing the roots.
- Allow the orchid to acclimate in a cool, well-ventilated space for a few days before resuming regular care.
Reviving Orchids with Rotten Roots: A Heroic Endeavor
- Root Examination:
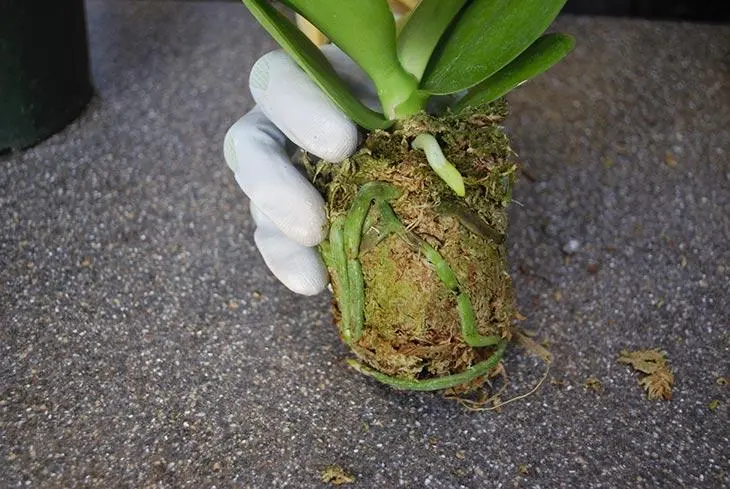
- Inspect the roots to determine their condition. Rotten roots may indicate overwatering.
- If some roots are healthy or beginning to turn dark but not mushy, there’s hope for revival.
- Resuscitation Protocol:
- Extract the orchid, removing soil from the roots.
- Cut diseased roots and apply a fungicide like powdered sulfur to the cuts.
- Let the roots dry on a paper towel or clean cloth.
- Repot the orchid in fresh potting soil, choosing a clean pot to avoid fungal traces.
Orchid Maintenance Tips for Blooming Success:
- Light and Location:
- Place orchids in bright, indirect light, avoiding direct sunlight to prevent foliage burns.
- Ideal locations include east or west-facing windowsills.
- Combatting Dry Air:
- Spray the foliage (not flowers) 2 to 3 times a week if the air is dry, or place the pot on a tray of damp gravel.
- Watering Wisdom:
- Lift the pot to assess its weight before watering; water only if it feels light.
- Dip the orchid pot in non-calcareous water, such as rainwater, and allow proper drainage.
- Fertilizing Finesse:
- Use orchid fertilizer from spring to fall for optimal growth.
Fear not the rebellious roots of your orchid; a simple repotting can restore order. With tender care and adherence to these steps, your orchid will not only survive but thrive, gracing your space with vibrant, fragrant blossoms. May your orchid journey be one of green triumphs and floral delights!