If you want to have a lush and healthy orchid that lasts for many years, there is a simple method you can use, one that is often practiced by professional nurserymen. With just a few easy steps, you can help your orchid develop strong roots and vibrant leaves throughout the year. Here’s how to care for your orchid and keep it thriving.
The Beauty of Orchids
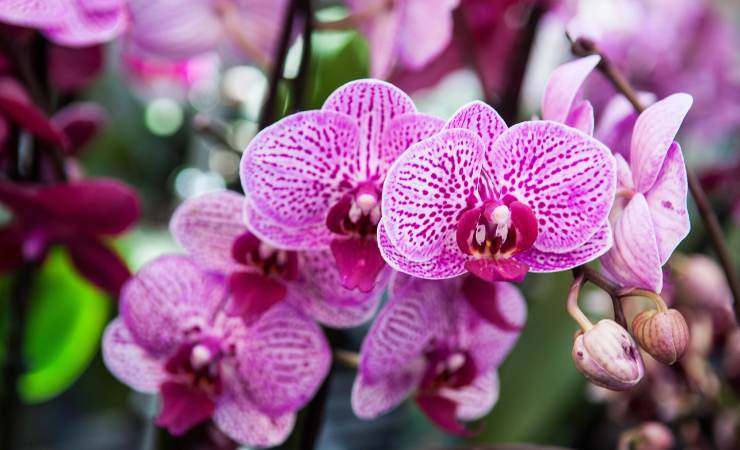
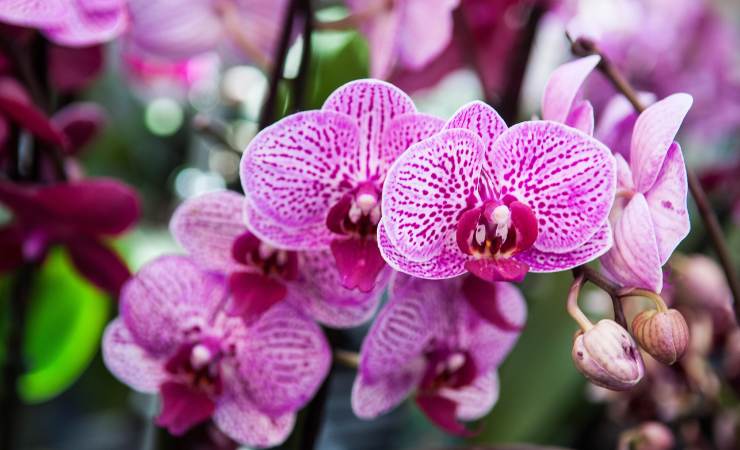
Orchids are known for their beauty and elegance, symbolizing beauty and sensuality in the language of flowers. These tropical and subtropical plants are widely cultivated around the world, including in Italy. Orchids are distinctive for their fleshy leaves and variegated flowers, and there are several varieties popular for indoor gardening, such as the butterfly orchid (Phalaenopsis).
Orchids thrive in warm, humid environments with bright light, but not direct sunlight. They need a temperature around 20°C to grow well. A healthy orchid typically blooms twice a year and requires year-round fertilization. When it comes to watering, orchids should only be watered when the soil is completely dry, as over-watering can harm the delicate plant.
Reviving Your Orchid: A Simple Asian Method
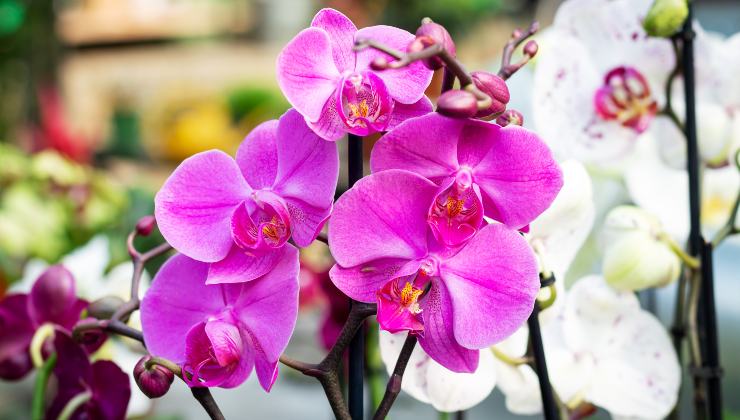
If your orchid needs a little extra care, you can use a simple method derived from traditional Asian orchid care to revive and strengthen it. Follow these steps to help your orchid grow strong and vibrant:
- Clean the Roots
Begin by removing the orchid from its pot and carefully cleaning the roots to get rid of any old soil. Use scissors to trim all the roots. After that, remove any excess leaves, leaving only the central stem intact. - Prepare Garlic Juice
Crush some garlic in a mortar and place it at the bottom of a glass container. Add water to the garlic and let it sit, then strain the mixture into another container. - Soak the Orchid
Place the cleaned orchid in a small jar and pour about a third of the garlic juice over the plant. Let the orchid sit in the solution for about 20 minutes before removing it and letting it dry in a separate glass container. - Create a Humid Environment
Cut the top off a plastic bottle to create a small glass-like container. Place the neck of the bottle at the bottom and insert the orchid’s root into the neck. Add a small amount of water, ensuring that the roots don’t get wet, as the water will evaporate and help maintain the right humidity. - Spray the Orchid
Every two days, spray the orchid with a little water to keep the humidity levels up. Within a month, the orchid will develop new, healthy roots and leaves.
Additional Orchid Care Tips
- Use Transparent Pots: Orchids need plenty of light for their roots, so plant them in transparent pots to ensure they get enough sunlight.
- Oxygen and Aeration: Make sure the pot allows for proper oxygenation and aeration of the roots.
- Watering: Orchids do not like chlorine, so it’s best to water them with rainwater or distilled water. You can also immerse the pot in a bowl of water to soak the roots.
- Humidity: Orchids thrive in humid environments, such as bathrooms, kitchens, or greenhouses. Keep the orchid away from direct sunlight and avoid water stagnation around the roots.
- Regular Maintenance: To help the orchid bloom again, regularly clean the leaves with a cloth or cotton, administer the right fertilizer, and water at the correct intervals.
By following these simple methods and tips, you can keep your orchid healthy and thriving for many years to come!