Going on vacation often brings the worry of leaving your plants unattended. How will they stay healthy without being watered? Luckily, there’s a simple and effective method that ensures your plants stay hydrated, even when you’re away from home. With just a few basic materials, you can create a DIY irrigation system to water your plants automatically while you’re on vacation. Let’s explore how to make this clever solution!
Why Watering Your Plants Matters
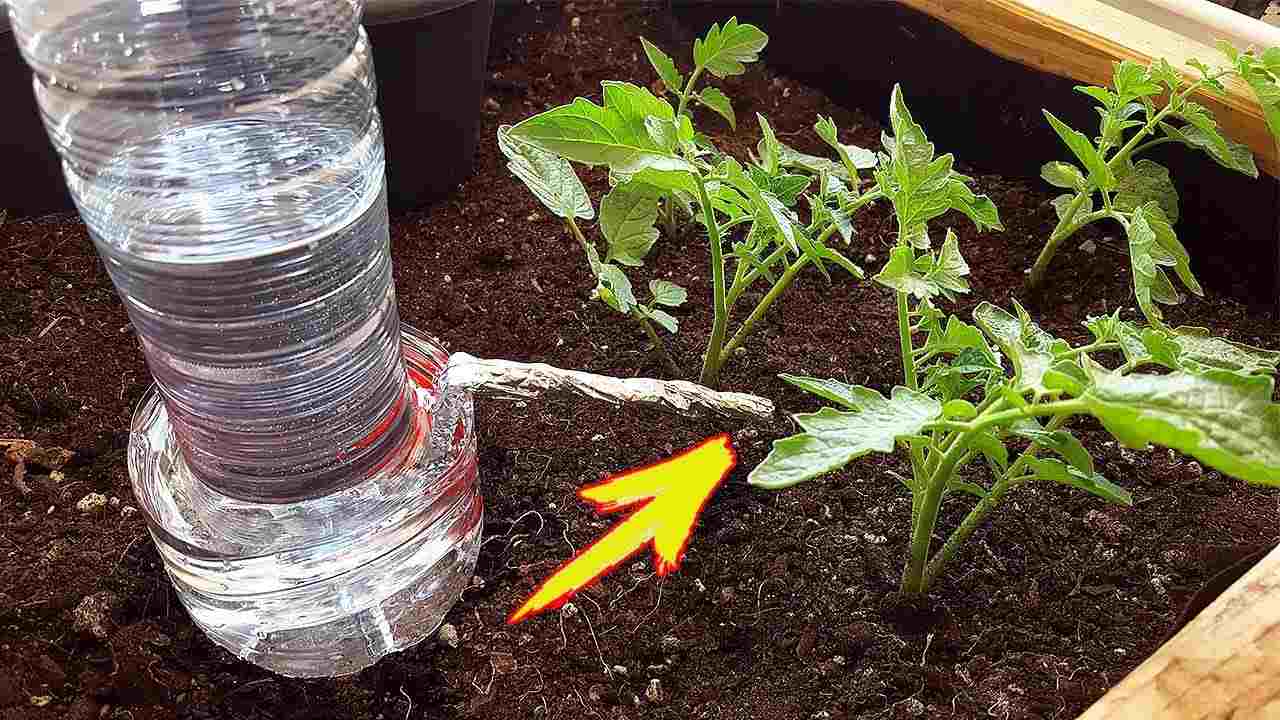
Anyone who owns plants, whether in the garden or around the home, knows that proper watering is key to their growth. Without consistent watering, plants can become weak, struggle to thrive, and even die. However, when you’re away from home for an extended period of time, keeping your plants watered can be a challenge. You might think of asking a friend or family member to help, but there’s an easier solution you can set up yourself before you leave.
DIY Drip Irrigation System: Step-by-Step
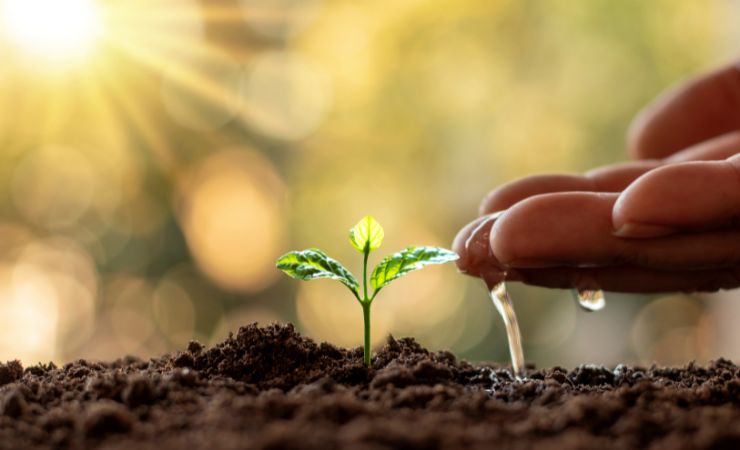
Materials Needed:
- Two plastic bottles (one large and one small)
- Fabric strip (approximately 35 cm long)
- Aluminum foil
- Cutter or scissors
- Marker
Step 1: Prepare the Bottles
Start by taking the larger plastic bottle. Cut off the bottom of the bottle, leaving about 6 cm from the base. This will serve as the water reservoir.
Next, take the smaller bottle and place it vertically inside the larger one. Use a marker to mark the water level on the smaller bottle, which should align with the top of the cut portion of the larger bottle.
Step 2: Create the Water Release Window
On the smaller bottle, make a small square half a centimeter below the marker you made earlier. Use a cutter to carefully remove the plastic within this square to create a small window for the water to flow out of.
Step 3: Prepare the Fabric and Aluminum Foil
Now, take the fabric strip and wrap it around a piece of aluminum foil. Leave about 4 cm of fabric exposed. Fold the aluminum foil to secure the fabric and prepare it for placement in the larger bottle.
Step 4: Set Up the Drip Irrigation System
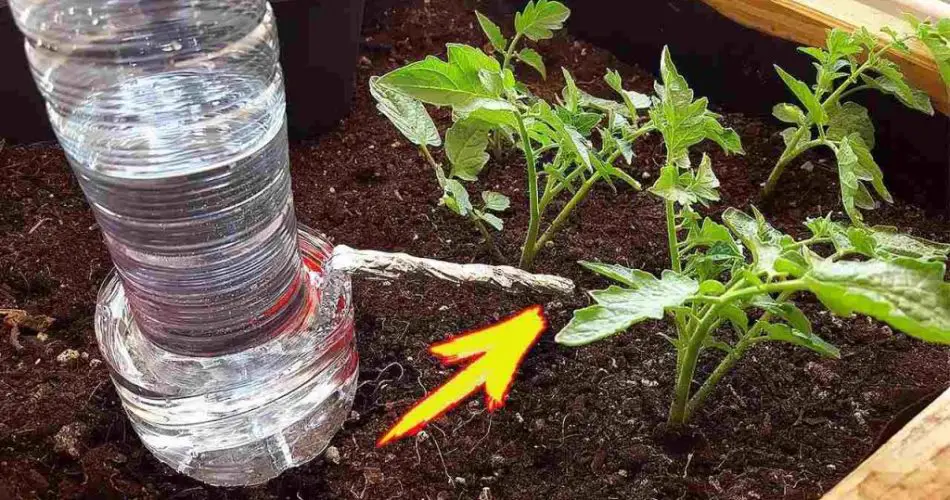
Place the smaller bottle, filled with water, inside the larger bottle, ensuring that the small window you created is positioned at the bottom of the larger bottle. The fabric strip (wrapped in foil) should be placed inside the larger bottle in a way that it connects the two containers. This will act as your sprinkler.
Step 5: Position the System in the Soil
Now, place the assembled system in the soil, making sure the small window is buried half a centimeter into the ground. The water from the small bottle will slowly drip out through the window and into the soil, ensuring that your plants get the moisture they need while you’re away.
Customizing the Water Flow
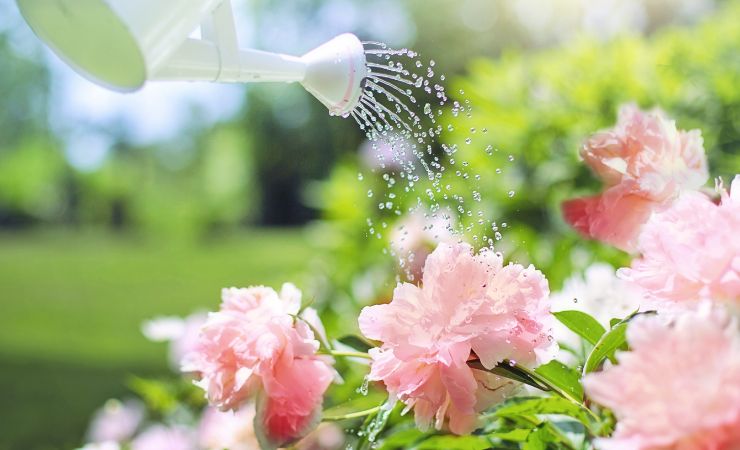
What if you notice the water is dripping too quickly? No worries! You can easily adjust the water flow by tightening the aluminum foil wrap around the fabric. This will reduce the speed at which water passes through, ensuring your plants receive a steady, controlled amount of hydration.
This method works great not only for garden plants but also for indoor vases. Just make sure to use a smaller container for indoor plants to create a stable system that can provide consistent watering.
The Perfect Vacation Solution for Your Plants
With this drip irrigation system, you can confidently go on vacation, knowing your plants will receive the hydration they need. This affordable and practical solution will keep your plants healthy, thriving, and well-watered—even when you’re not around!
So, next time you head out for a trip, forget about asking others to water your plants—just set up this simple system and enjoy your time away!