Reproducing Orchids with the Plastic Bottle Trick
Orchids, known for their beauty, can be easily reproduced at home using a simple plastic bottle trick. Follow these steps for successful orchid propagation:

Materials:
- At least 2 orchid branches
- Sphagnum moss
- 2 elastic bands
- An empty plastic bottle
- Cutter or sterilized scissors
- Alcohol for sterilization
Procedure:
- Prepare the Orchid Cuttings:
- Cut a segment from your orchid plant using a sterilized cutter or scissors.
- Optionally, cut off any flowers that may be present.
- If desired, cut a single cutting into two equal-sized stems.
- Prepare the Sphagnum Moss:
- Place the sphagnum moss in a bowl.
- Spray it with a little water and squeeze it with your hands.
- Sphagnum moss creates a tropical atmosphere around the orchid roots.
- Wrap Cuttings with Moss:
- Wrap the hydrated moss around the end of each cutting.
- Secure the moss in place using elastic bands.
- Prepare the Plastic Bottle:
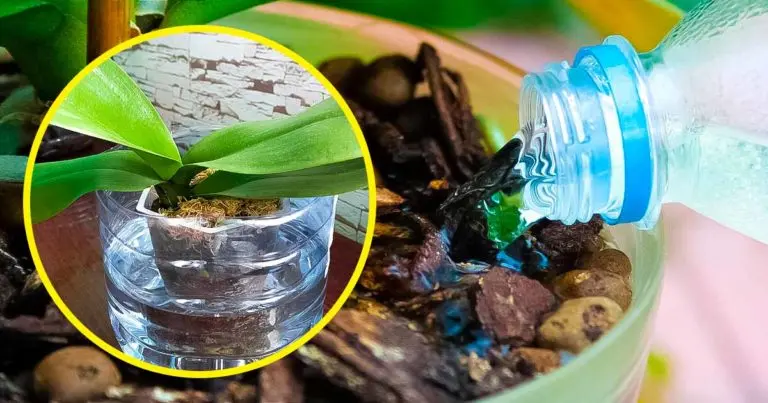
- Cut the plastic bottle in half using a cutter.
- Fill the bottom half with about 2 centimeters of water.
- Insert Cuttings into the Bottle:
- Place the cuttings at the bottom of the bottle so that the moss is immersed in water.
- Connect the upper part of the bottle to the lower part.
- Make Holes in the Cork:
- Using a needle or awl (heated for ease), make a few holes in the cork.
- Close the Bottle and Wait:
- Close the bottle and place it in a well-lit area for approximately 2 weeks.
- Keep the plant away from drafts and excessive heat during this period.
- Planting the Cuttings:
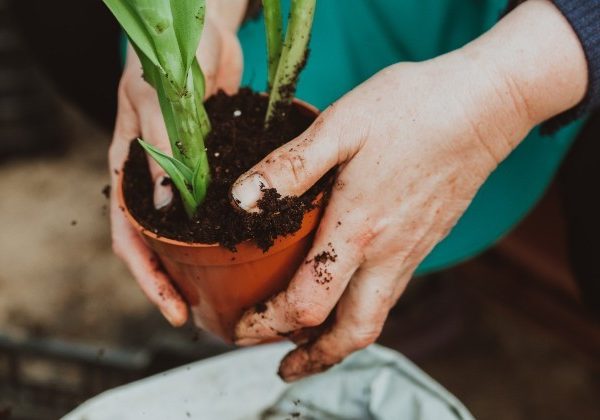
- Once roots appear, it’s time to plant the cuttings in a pot.
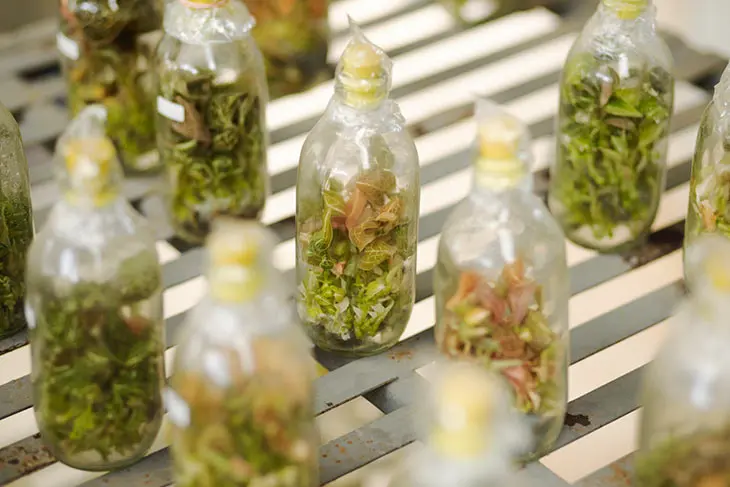
This simple and effective method allows you to reproduce orchids at home. Enjoy the process and surround yourself with the beauty of these refined flowers.
Show Comments