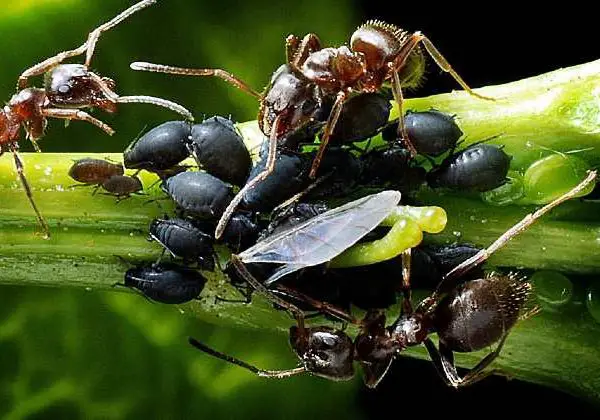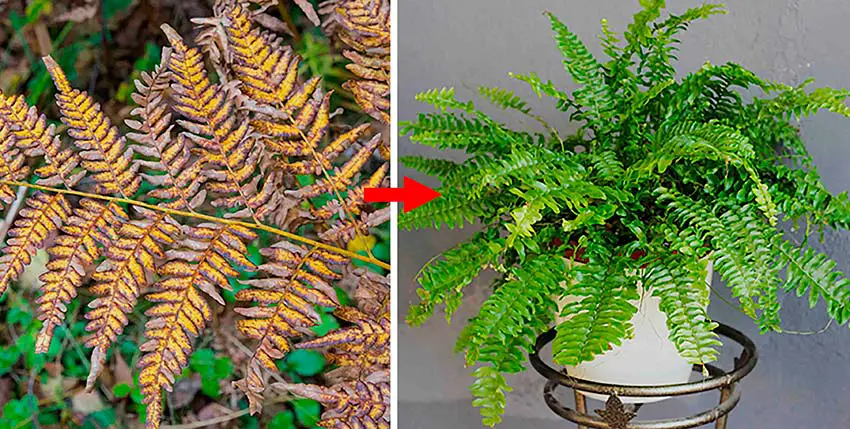

Ferns are beautiful and resilient plants, but they can struggle if their care requirements aren’t met. If your fern has dry, brown leaves and appears to be struggling, don’t despair. Here’s a step-by-step guide to help you recover your fern and get it back to its lush, green self.
1. Items Needed for Recovery:
- Substrate (potting mix)
- 2 pots (one smaller, one larger)
- A toothpick
- A gentle hand
2. Step-by-Step Recovery Process:
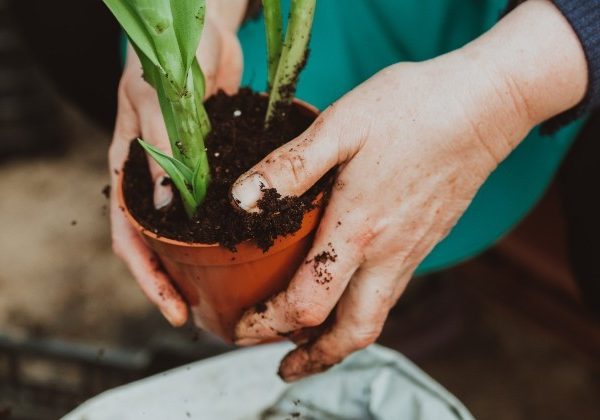
1. Assess and Remove the Fern:
- Gently remove the fern from its pot, taking care not to damage the roots. If the plant is stuck, gently loosen it by tapping the sides of the pot or by carefully easing it out with a hand or tool.
2. Clean the Roots:
- Once removed, gently clean the root ball. The fern might be surrounded by compacted soil, which restricts oxygen and nutrient uptake. Break up the soil gently with your fingers. Remove any brown, dead roots and discard them. You should be left with cleaner, healthier roots and some visible nodules.
3. Prepare the New Potting Mix:
- Use fresh, high-quality potting mix suitable for indoor plants. If possible, use a mix that retains moisture but allows for good drainage.
4. Repot the Fern:
- Place the fern into a new, appropriately-sized pot. It’s best to use two pots: a smaller one to start the recovery, and a larger one once the fern shows signs of improvement. Fill around the roots with the new potting mix, ensuring the plant is stable and the roots are well covered. Avoid compacting the soil too tightly.
5. Place in a Suitable Location:
- Position the repotted fern in a semi-shaded or dimly lit area. Direct sunlight can be too harsh and cause further damage. A location with indirect light or filtered sunlight is ideal.
6. Watering:
- Water the fern thoroughly after repotting. Keep the soil consistently moist but not soggy. During recovery, it’s important to maintain regular watering, but reduce watering in winter. In summer, water twice a week; in winter, once a week is sufficient.
7. Fertilization:
- After about five weeks, you should see improvements in your fern’s color and growth. At this point, apply a balanced synthetic fertilizer containing nitrogen, phosphorus, and potassium. Use a toothpick to make small grooves in the soil near the edges of the pot, and place 1/2 tablespoon of fertilizer in these grooves.
8. Monitor and Maintain:
- Continue to monitor the fern’s progress. Remove any additional dead or brown leaves. Maintain proper care by ensuring it’s in an appropriate light condition, and adjust watering and fertilization as needed.
Tips to Keep in Mind:
- Light: Ferns thrive in shaded or semi-shaded areas. Avoid placing them in direct sunlight, as it can cause further damage.
- Watering: Adjust watering according to the season. Ferns generally need less water in winter.
- Fertilizer: Use a balanced fertilizer with nitrogen, phosphorus, and potassium to support healthy growth.
By following these steps and providing the right conditions, you can help your fern recover from its dry, wilted state and encourage new, healthy growth. Enjoy the process and the renewed beauty of your fern!
Show Comments