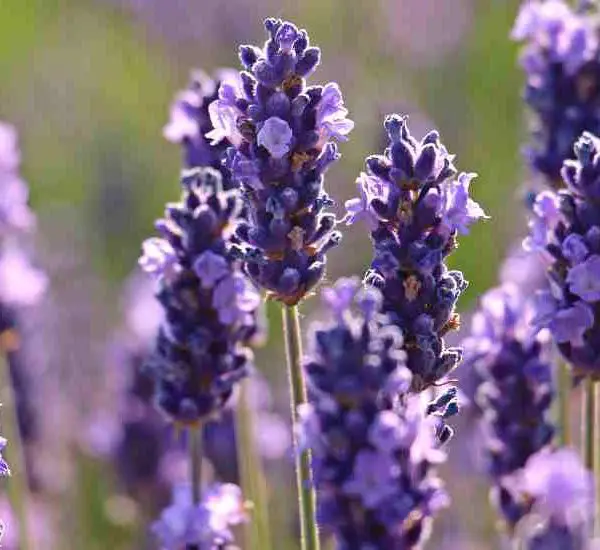
Lavender, with its fragrant purple flowers and therapeutic properties, is a plant loved by many. Whether you want to grow lavender in your garden or multiply your existing plants, propagation by cuttings is an easy and effective method. Professionals in the industry often use this technique to reproduce lavender indefinitely, and you can too. Here’s a step-by-step guide on how to propagate lavender from cuttings and enjoy a continuous supply of this beautiful plant.

Best Time to Take Lavender Cuttings
The ideal time for propagating lavender through cuttings is during spring or autumn. These seasons provide the perfect conditions for rooting. Ensure that the mother plants are healthy and vigorous, with lush flowers and leaves. Avoid taking cuttings during stressful periods, such as the heat of summer, as this can hinder the rooting process.
Step-by-Step Guide to Propagate Lavender from Cuttings
Follow these simple steps to propagate lavender from cuttings:
- Prepare the Tools: Start by gathering a pair of clean, sharp garden shears to avoid damaging the plant.
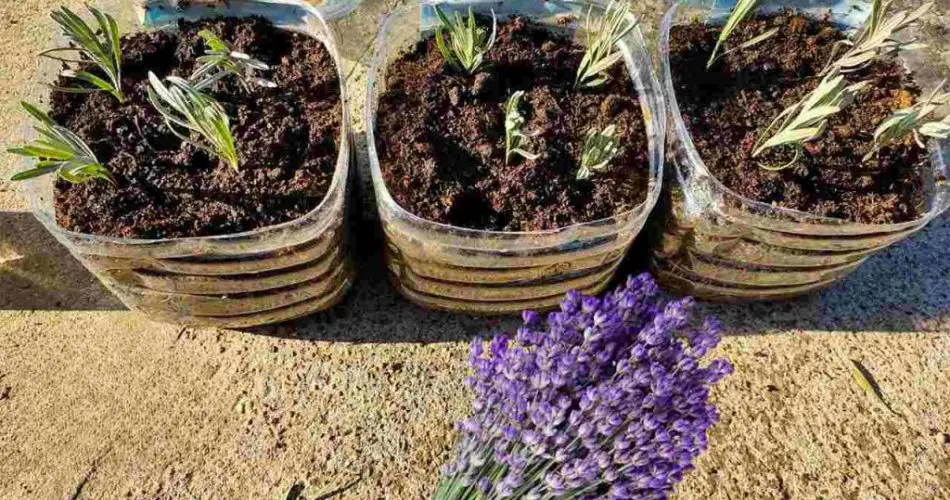
- Select the Cuttings: Choose young, healthy side stems that are about 10-15 centimeters long. Make sure these stems are vigorous and free from disease.
- Trim and Clean: Remove the leaves from the bottom half of the cutting, leaving only the upper leaves. This helps the cutting focus its energy on developing roots.
- Cut Below the Node: Ensure you make the cut just below a node, which is the point where the roots will develop.
- Rooting Hormone: For better success, dip the cut end of the lavender cutting into a rooting hormone. These products help stimulate strong root growth. You can find rooting hormone at most nurseries.
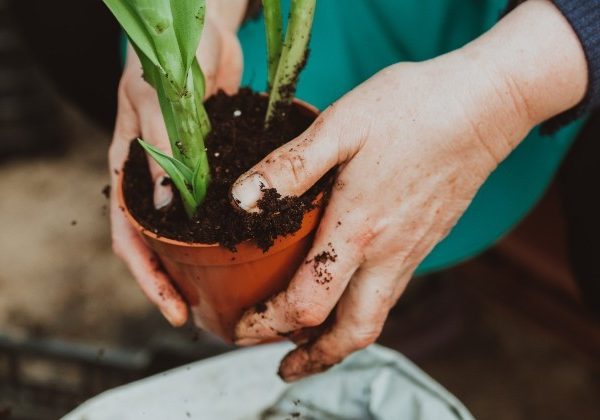
- Prepare the Soil: Lavender cuttings thrive in well-draining soil. A succulent potting mix or sandy soil mixed with perlite is ideal. Fill pots or containers with this soil and water them lightly before planting the cuttings.

Planting the Lavender Cuttings
- Make a Hole: Use a stick or your finger to make a small hole in the soil.
- Insert the Cutting: Gently place the lavender cutting into the hole, ensuring it is stable. You can plant multiple cuttings in one pot, but be sure to leave at least 5 centimeters between them to give each one room to grow.
- Create a Humid Environment: To help the cuttings root, cover them with a transparent plastic bag. This will create a humid environment, which is essential for the rooting process.
- Position the Pot: Place the pot in a bright area, but avoid direct sunlight, as it can scorch the cuttings. Lavender cuttings need light to grow, but too much sun can be harmful.

Care for Your Lavender Cuttings
- Moisture: Keep the soil slightly moist, but not soggy. Overwatering can lead to rot, so check the soil moisture regularly and water when needed.
- Wait for Root Development: After about 6 weeks, the cuttings should begin to develop strong roots. You can gently pull on the cutting to check for resistance, which indicates the roots have formed.
- Transplant: Once the roots are well-developed, the lavender cuttings are ready to be transplanted into individual pots or directly into the garden soil.
Conclusion
Propagating lavender from cuttings is a simple and cost-effective way to multiply your plants and enjoy their soothing fragrance and medicinal benefits year-round. By following these easy steps, you can propagate lavender endlessly, creating a lush garden filled with this beautiful, fragrant herb. Remember to be patient, as it takes time for the cuttings to root, but with a little care, you’ll soon have a thriving collection of lavender plants to enjoy!