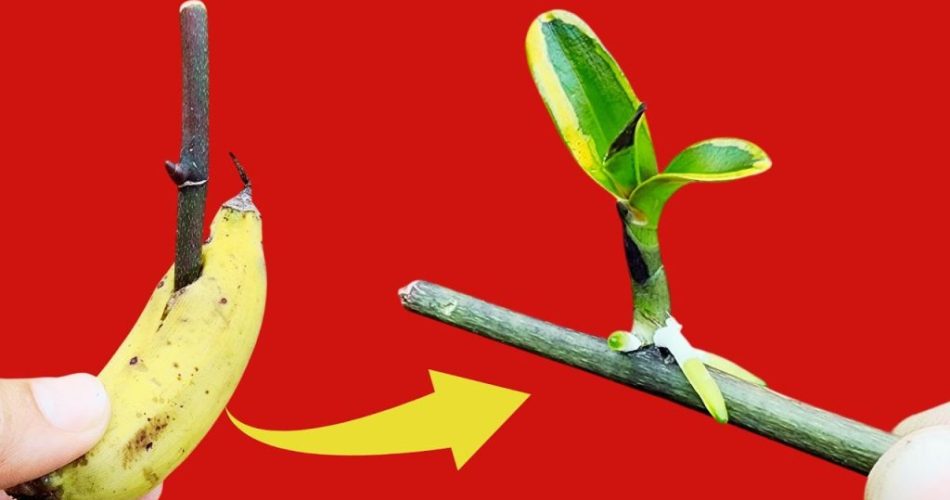
Orchids are some of the most beautiful and elegant houseplants, admired for their vibrant flowers and minimalist beauty. Though they require a little attention, propagating orchids at home can be easier than you think! In this article, we’ll show you how to propagate an orchid using a simple technique with just a banana peel and a few other natural ingredients.
What You’ll Need to Propagate an Orchid:
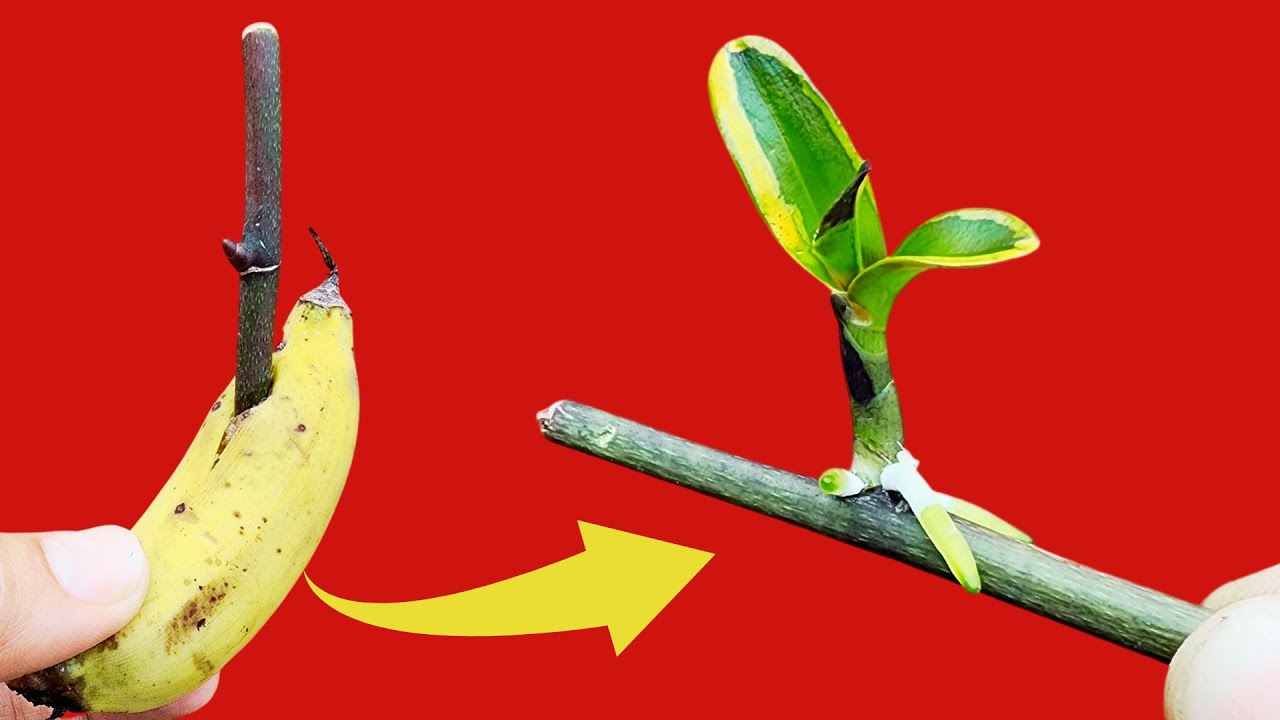
- A dead orchid branch (without flowers or buds)
- Banana (peel and fruit)
- Ground cinnamon
- Clove of garlic
- Moss
- Candle
- Plastic bottle
- Water
Step-by-Step Guide to Orchid Propagation
1. Choose the Right Orchid Branch
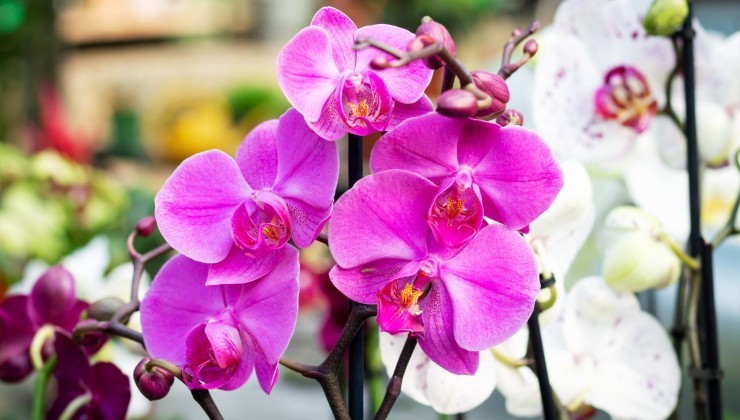
First, select a dead-looking branch from your orchid plant, one that doesn’t have any flowers or buds. Cut the branch from the rest of the plant, then trim the ends until you see the bright green inside. This is where the new orchid plant will start growing.
2. Use Garlic for Protection
Peel a clove of garlic and rub it on the cut ends of the branch. This helps to prevent the growth of mold or fungus and ensures the branch doesn’t rot, keeping it healthy for propagation.
3. Seal the Ends with Candle Wax
Light a candle and let the wax drip onto the ends of the orchid branch. This may seem counterintuitive, but sealing the ends with wax helps prevent the branch from losing too much water during the propagation process.
4. Prepare the Banana Mixture

Take a small banana and peel it. Place both the peel and the fruit in a blender, then add 1 liter of water and blend well. Strain the mixture into a jar. This banana liquid acts as an activator for your orchid branch, helping it root.
5. Prepare the Cinnamon Solution
In another container, add 1 teaspoon of ground cinnamon to 1 liter of boiling water. Stir well and let it cool to room temperature. This cinnamon mixture will be used to disinfect the moss, ensuring the orchid roots have a clean environment to grow.
6. Soak the Moss
Immerse the moss in the cinnamon solution and let it soak for 20 minutes. Once soaked, squeeze out any excess liquid and spread the moss on a paper towel to dry.
7. Create a Miniature Greenhouse

Now, you’ll create a mini greenhouse for your orchid branch. Take a large plastic bottle, cut it about a third of the way down from the base, leaving the top attached so it can be opened and closed.
At the bottom of the bottle, place some pebbles for drainage, followed by the soaked moss. Lay the orchid branch horizontally on top, ensuring it’s moist with the same banana liquid it was immersed in.
8. Maintain Humidity and Watch It Grow
Mist the orchid branch regularly with a little water to maintain humidity. Close the bottle to keep the environment moist. After a couple of weeks, you’ll notice the first shoots emerging from the branch. Continue keeping the orchid in the mini greenhouse for about 2 months until it develops roots.
Once the roots are ready, your orchid is ready to be planted in bark for its next growth stage.
By following these simple steps, you’ll have successfully propagated your orchid and can enjoy a new plant without the need for complicated techniques.