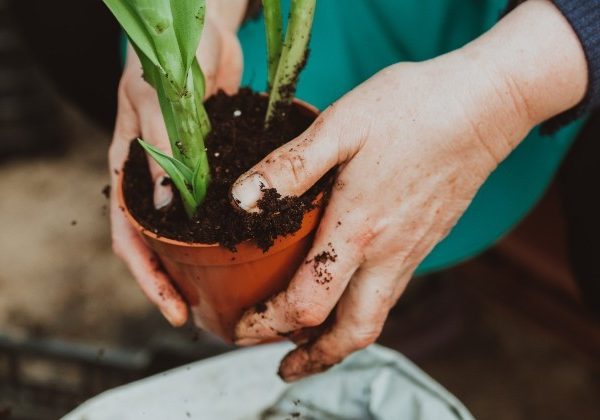
Planting roses in the spring is a great way to ensure they establish well and thrive throughout the growing season. Here’s a step-by-step guide to planting roses with an open root system and ensuring they grow beautifully.
1. Selecting Quality Seedlings
- Source: Purchase rose seedlings from reputable nurseries.
- Check: Inspect the root system, stem thickness, and overall condition of the plant. Healthy roots should be firm and white or light-colored, and the stem should be straight and robust.
2. Choosing the Planting Site
- Location: Select a spacious, well-lit area with good air circulation.
- Soil: Ensure the soil is well-drained. Avoid low-lying areas where water may accumulate, as roses do not like “wet feet.”
- Sunlight: Roses thrive in full sun, ideally receiving at least 6 hours of direct sunlight per day.
3. Preparing the Planting Hole
- Size: Dig a hole approximately 60×60 cm (24×24 inches) wide and deep enough to accommodate the root system comfortably.
- Soil Mix: Mix the soil with nitrogen-phosphorus fertilizer, rotted compost, and a little earth. This helps provide essential nutrients and improves soil structure.
4. Soaking the Roots
- Preparation: Fill a bucket with plain water.
- Soaking: Place the rose roots in the water and soak for 24 hours. For added benefits, you can add a vitamin B1 or an antifungal agent to the water to promote root health.
5. Planting the Rose
- Positioning: Place the rose bush in the center of the hole. Spread the roots out evenly.
- Planting Depth: Ensure the basal node (the area where the stem meets the roots) is 2 cm (about 1 inch) above the soil level. This helps prevent rot and encourages healthy growth.
- Filling the Hole: Gradually fill the hole with soil, mixing in the soil amendments as you go. Gently tamp the soil to remove air pockets and ensure good soil-to-root contact.
6. Watering and Mulching
- Watering: Water the newly planted rose bush thoroughly with warm water. This helps settle the soil around the roots and provides immediate hydration.
- Mulching: Apply a layer of mulch around the base of the plant. Mulch helps retain moisture, suppress weeds, and regulate soil temperature. Use organic materials such as wood chips, straw, or compost.
7. Ongoing Care
- Watering: Initially, water the rose bushes every 3 days until they are well-established. Afterward, reduce the frequency based on weather conditions and soil moisture.
- Fertilizing: Once the roses are established, fertilize them according to the specific needs of the variety. Use balanced rose fertilizers or follow recommendations from your nursery.
- Pruning: Prune the roses as needed to encourage a healthy shape and remove any dead or diseased growth. This also helps improve air circulation around the plant.
8. Monitoring and Maintenance
- Pests and Diseases: Keep an eye out for common rose pests and diseases. Treat issues promptly to prevent damage.
- Growth: Expect the first buds to appear in 2-3 months. Continue to care for the roses by maintaining good watering and fertilization practices.
By following these steps, you’ll help your roses establish strong roots and grow beautifully, leading to a stunning display of blooms. Enjoy your gardening!
Show Comments