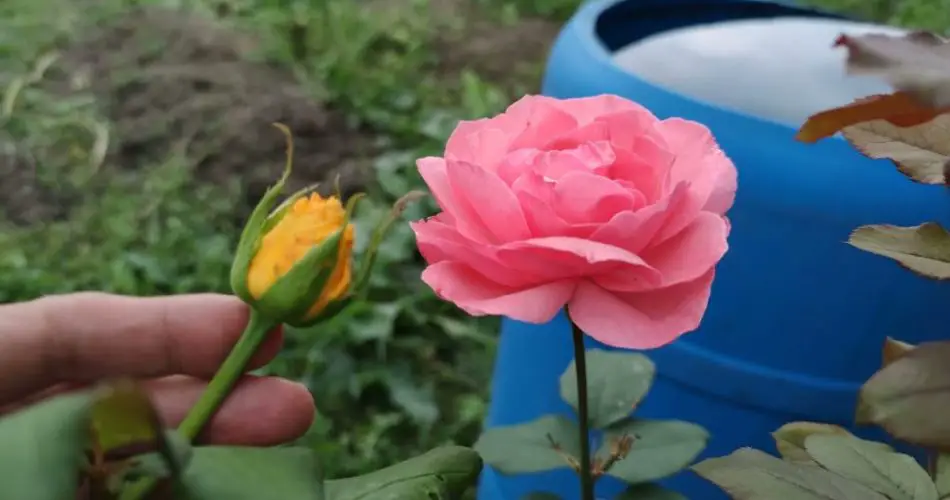
Grafting roses onto different varieties might seem like a job reserved for experts, but in reality, anyone can do it with a little guidance. By following a few simple steps, you can enjoy the beautiful flowers of new rose varieties without the hassle of buying new plants. Here’s everything you need to know about grafting roses successfully.
What is Rose Grafting?
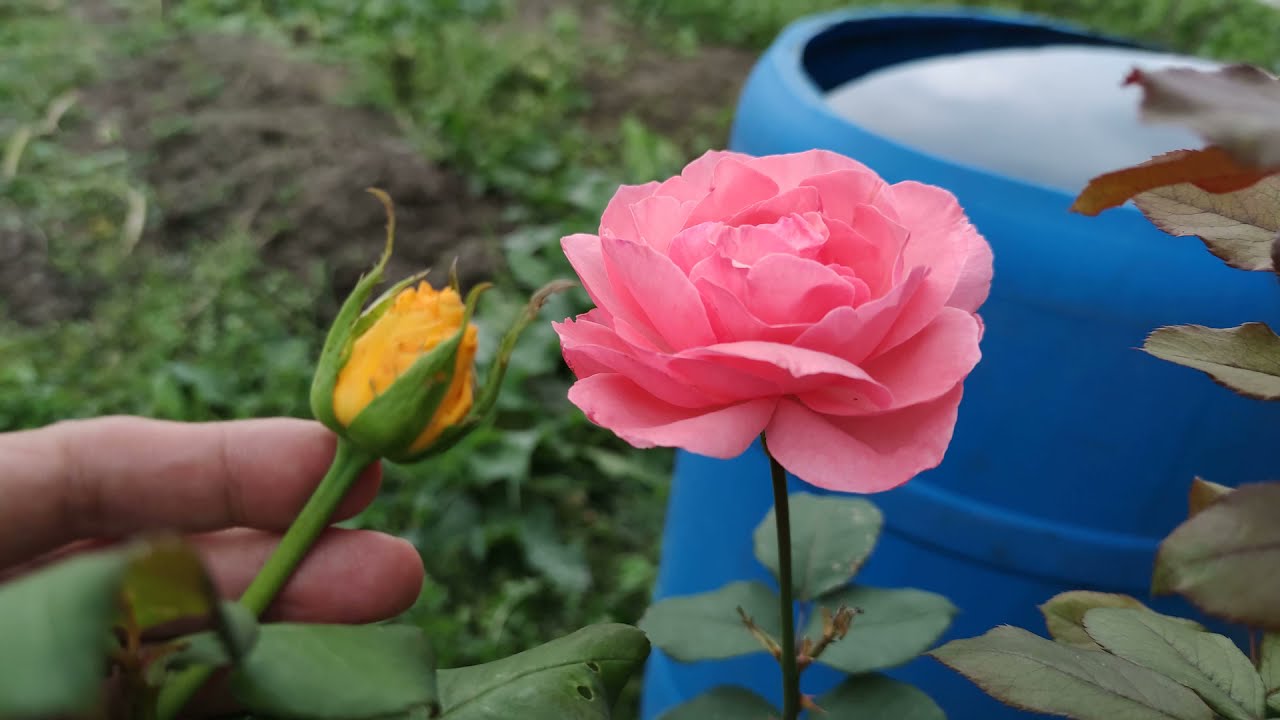
Grafting a rose involves joining two different plants to create a unique hybrid. It’s a process that brings together the best traits of both plants, resulting in a new, vibrant rose plant. While it might seem complicated at first, once you understand the steps, you’ll be amazed at how easy it can be.
The key to successful grafting lies in the rootstock and the scion, the variety of rose you want to graft onto the rootstock. When done correctly, the grafted rose will grow strong and beautiful, producing flowers from a new variety on a sturdy root system.
Choosing the Right Rootstock for Grafting

The first step in grafting is selecting the right rootstock. An ideal rootstock should be robust and adaptable to different soil types. One of the best rootstocks for beginners is the dog rose (Rosa canina), known for its strong, resilient roots. This variety is easy to care for and works well with other rose varieties, especially multiflora roses, which have shallow roots.
To grow your rootstock, you can either bury the seeds of the two rose varieties or use cuttings. For best results, take two 20-centimeter-long branches in winter, then plant them in the summer to start your new plant.
Essential Tools for Grafting Roses
Before starting, make sure you have the necessary tools:
- Disinfected scissors or pruning shears for making clean cuts.
- Tying materials, like raffia, to secure the graft and protect the joining point.
- A warm temperature of about 25°C (77°F) is ideal for grafting.
The Grafting Process: Step-by-Step
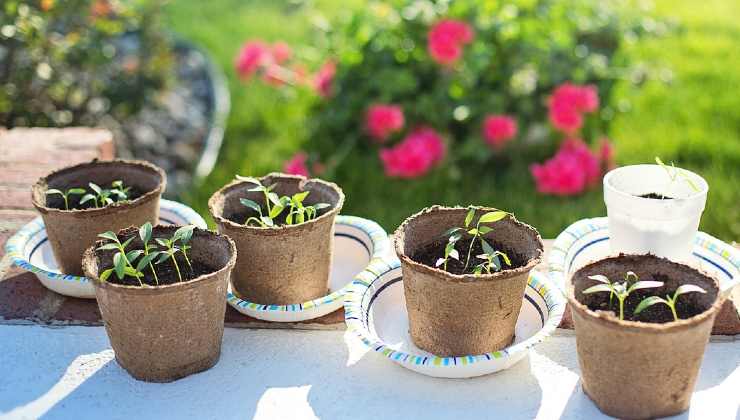
- Prepare the Cutting: Begin by carefully cutting the scion (the rose variety you wish to graft) with your scissors, making sure to make a perpendicular cut. It’s important to remove any leaves and thorns from the cutting to facilitate easier grafting.
- Attach the Scion to the Rootstock: After cutting the scion, attach it to the rootstock by aligning the cut areas. Secure the graft with your tying material, such as raffia, ensuring that the cut areas are tightly bound to encourage proper healing.
- Check After One Month: After about a month, remove the raffia to check the rooting progress. If everything has gone well, you should see new growth beginning to form.
Final Stages of Grafting
- Cutting the Rootstock: In February, cut the rootstock just above the graft site to encourage the growth of the new rose variety.
- Encouraging Growth: By spring, the first new shoots should appear. Allow them to grow to around 15 centimeters (6 inches) before topping them off to encourage stronger growth. Eliminate any wild shoots that form around the graft to maintain the plant’s health.
Additional Tips and Advice
While grafting can be done by anyone, it’s always a good idea to consult with a professional nurseryman before proceeding, as not all roses are suitable for grafting. Some varieties may not graft well, which could lead to poor results.
By following these steps, you’ll be able to create your own unique rose plant that combines the best characteristics of two varieties. Not only is grafting an enjoyable and rewarding experience, but it also allows you to have customized roses that bloom beautifully in your garden. Happy grafting!