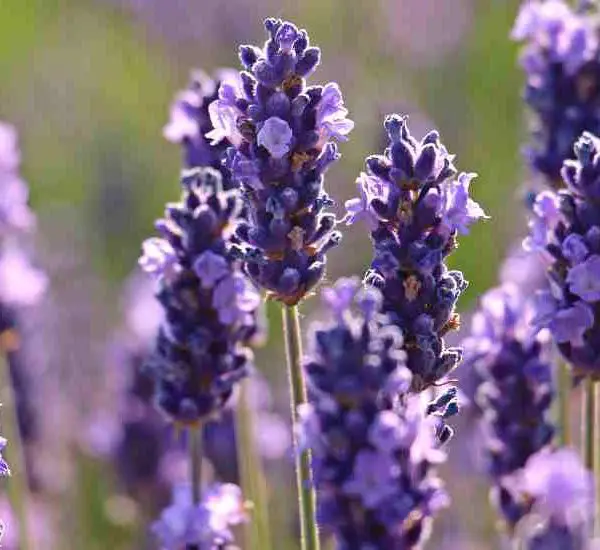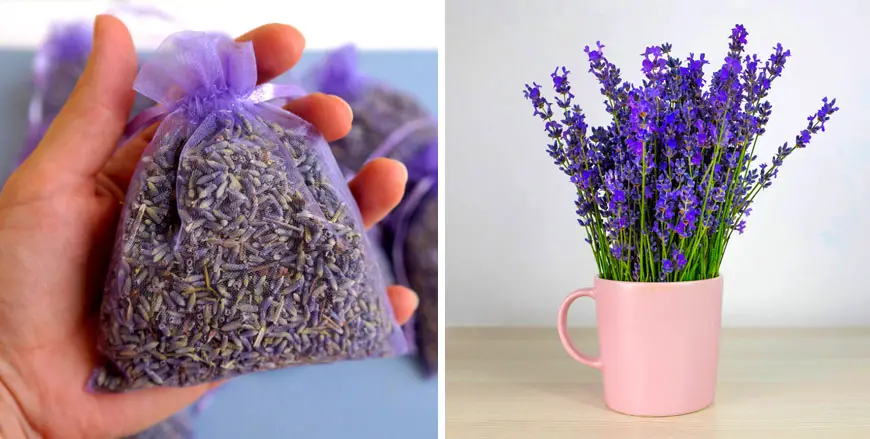
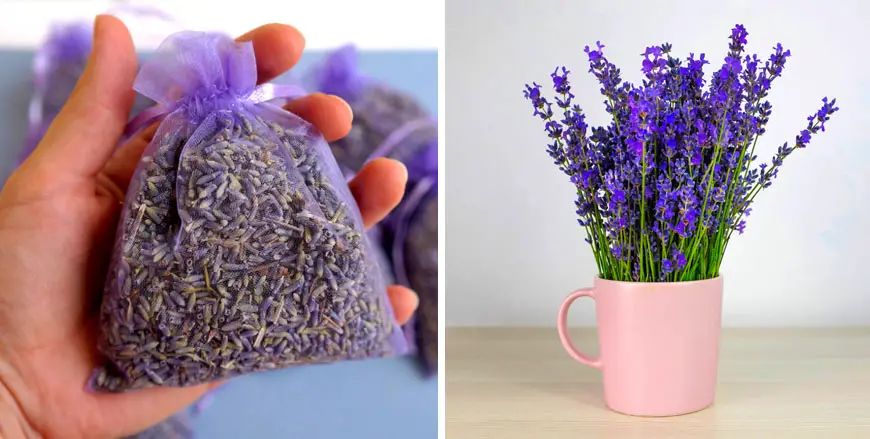
Lavender, with its soothing scent and beautiful lilac flowers, is a wonderful addition to any home. Its name, derived from the Latin word “lavare” meaning “to wash,” reflects its historical use in bathing and mummification. Germinating lavender in a cup is a simple way to enjoy its fragrance and bring a touch of the Mediterranean to your space. Here’s a step-by-step guide to get you started:
1. What You’ll Need:
- A cup (with drainage holes)
- Potting soil
- Fertilizer
- Lavender seeds
- Airtight bag
- A small container for mixing soil
2. Preparation Steps:
- Stratify the Seeds:
- Place your lavender seeds in an airtight bag.
- Refrigerate the seeds for at least three weeks. This cold stratification helps to break the seed dormancy and improves germination rates.
- Prepare the Cup:
- Use a cup that has drainage holes at the bottom to prevent waterlogging. If your cup doesn’t have holes, carefully drill or poke a few into the bottom.
- Mix the potting soil with fertilizer in a small container. The soil should be the predominant component.
- Fill the Cup:
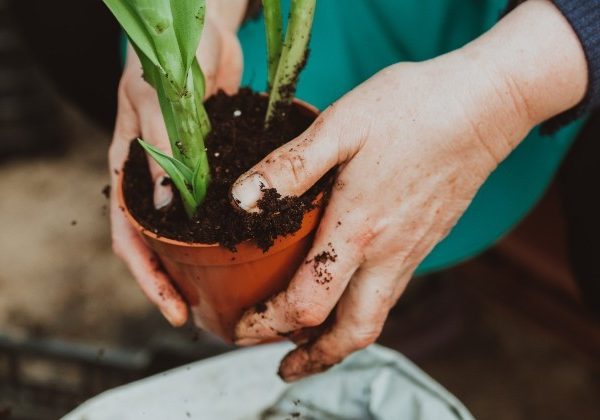
- Fill the cup with the soil mixture, leaving about an inch from the top.
- Plant the Seeds:
- Sprinkle the lavender seeds evenly on the surface of the soil, spacing them at least 1.5 cm apart.
- Gently cover the seeds with a thin layer of soil, just enough to barely cover them.
- Watering:
- Water the soil gently but thoroughly. Keep the soil consistently moist but not waterlogged.
- Placement:
- Place the cup near a window where it will receive bright, indirect sunlight. Avoid direct sunlight, which can dry out the soil too quickly.
- Germination and Growth:
- Lavender seeds typically germinate within 15 to 40 days.
- After two weeks, you should start to see signs of germination.
- If the seedlings grow too tall or seem weak, you can prune them to encourage a stronger, healthier plant.
- Transplanting:
- Once the seedlings have several sets of leaves and the roots become visible through the drainage holes, it’s time to transplant them.
- You can move them to a larger pot or directly into the ground if desired.
Additional Tips:
- Light Needs: Lavender requires a lot of light. If you’re growing it indoors, consider using a grow light to supplement natural light.
- Watering: During the germination process, keep the soil moist. Once established, lavender prefers drier conditions and less frequent watering.
- Avoid Overwatering: Lavender is prone to fungal diseases if the soil is too wet. Ensure proper drainage and avoid overwatering.
- Frost Tolerance: Lavender is quite hardy and tolerates frost well, making it suitable for a variety of climates.
- Transplanting: If the lavender outgrows its cup, transplant it to allow for more space to grow, helping it develop into a healthy bush.
Lavender’s pleasant aroma and beautiful blooms make it a fantastic addition to your home. By following these steps, you’ll have a fragrant, thriving lavender plant to enjoy for years to come.
Show Comments