A vertical garden can be a beautiful and space-saving solution for decorating a wall in your home. Whether you want to grow flowers, herbs, or create a small vegetable patch, a pallet-based vertical garden is an easy and affordable project. Here’s how you can turn a basic pallet into a green wall inside your house.
Why Choose a Vertical Garden?
Vertical gardens are often seen outside large buildings or shopping centers, but they can be just as effective inside your home. Not only do they help you make the most of limited space, but they also add a lush, vibrant touch to any room. The best part? Creating your own vertical garden is a lot easier than it sounds.
Materials You’ll Need:
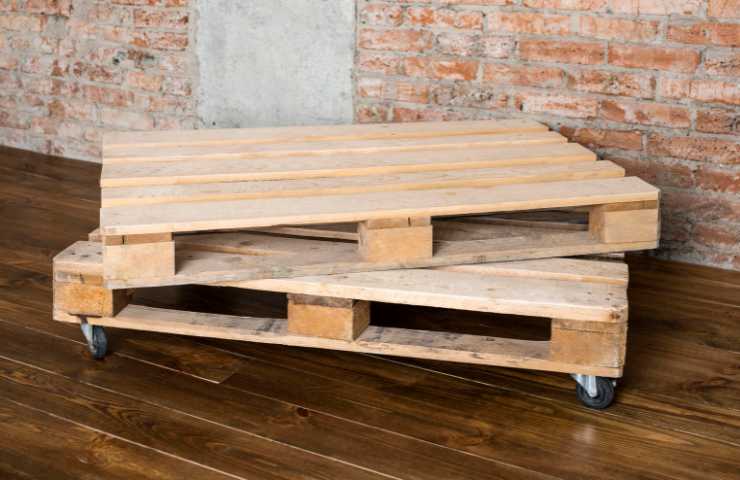
- Pallet: You can buy a new one at an affordable price or ask local transporters or stores for used pallets they might be giving away.
- Plants: Choose plants that are compatible with looser soil and have short roots. More on that below!
- Tools: Sandpaper (if you want to smooth the pallet), paint (optional), geotextile net or weed fabric (if you want to create plant pockets), and small pots (if you prefer using them).
Step 1: Choose the Right Plants
The plants you select for your vertical garden should have a few key characteristics:
- Adaptogenic: Choose low-maintenance plants that don’t need constant care.
- Short Roots: Plants with short roots are ideal since the soil in a vertical garden tends to be less compact.
- Small Leaves: Opt for plants with smaller leaves, such as petunias or aromatic herbs, which will thrive in a vertical garden setup.
If you prefer using pots instead of planting directly into the pallet, you have more flexibility with your plant choices. Pots allow you to experiment with different soil types or substrates, making your vertical garden even more diverse.
Step 2: Design Your Garden
Before starting the actual setup, it can be helpful to sketch your vertical garden on paper. Visualize where each plant or pot will go to create a balanced, aesthetically pleasing design. Once you have a plan, you can start working on the pallet.
Step 3: Prepare the Pallet
There are several ways to prepare the pallet, depending on the look you’re going for:
- Leave it Raw: If you want a rustic, natural look, you can use the pallet as-is.
- Sanding and Painting: For a smoother, more polished appearance, sand the pallet and give it a fresh coat of paint to match your decor.
Step 4: Planting the Garden
Now, it’s time to get planting! You have two main options for how to integrate your plants into the pallet:
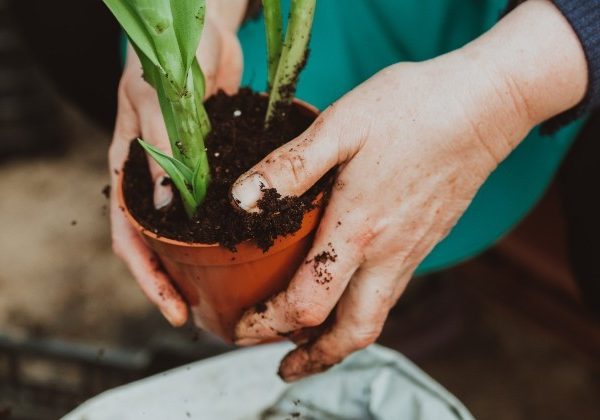
- Plant Directly Into the Pallet: If you’re not using pots, create small pockets in the pallet where you can insert plant roots. You can either use the holes in the pallet or attach geotextile fabric or weed fabric to create small planting pockets. Add soil to each pocket and plant your seedlings directly into them.
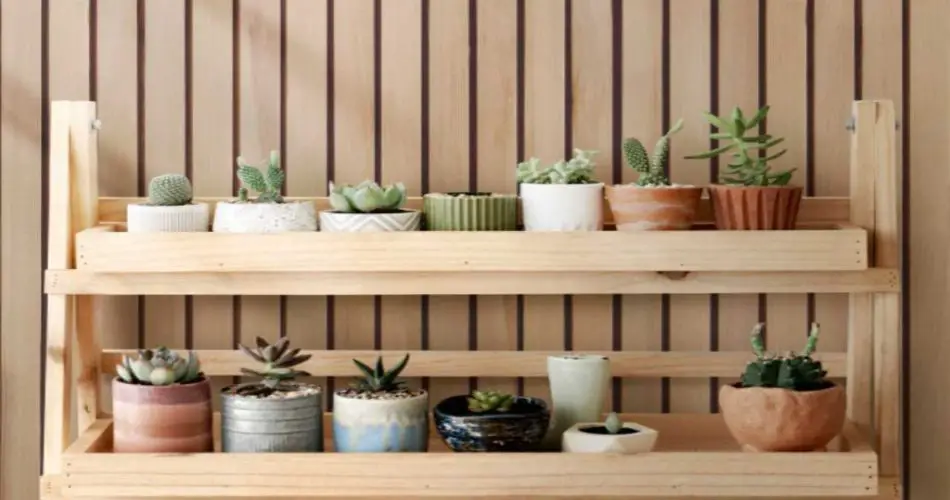
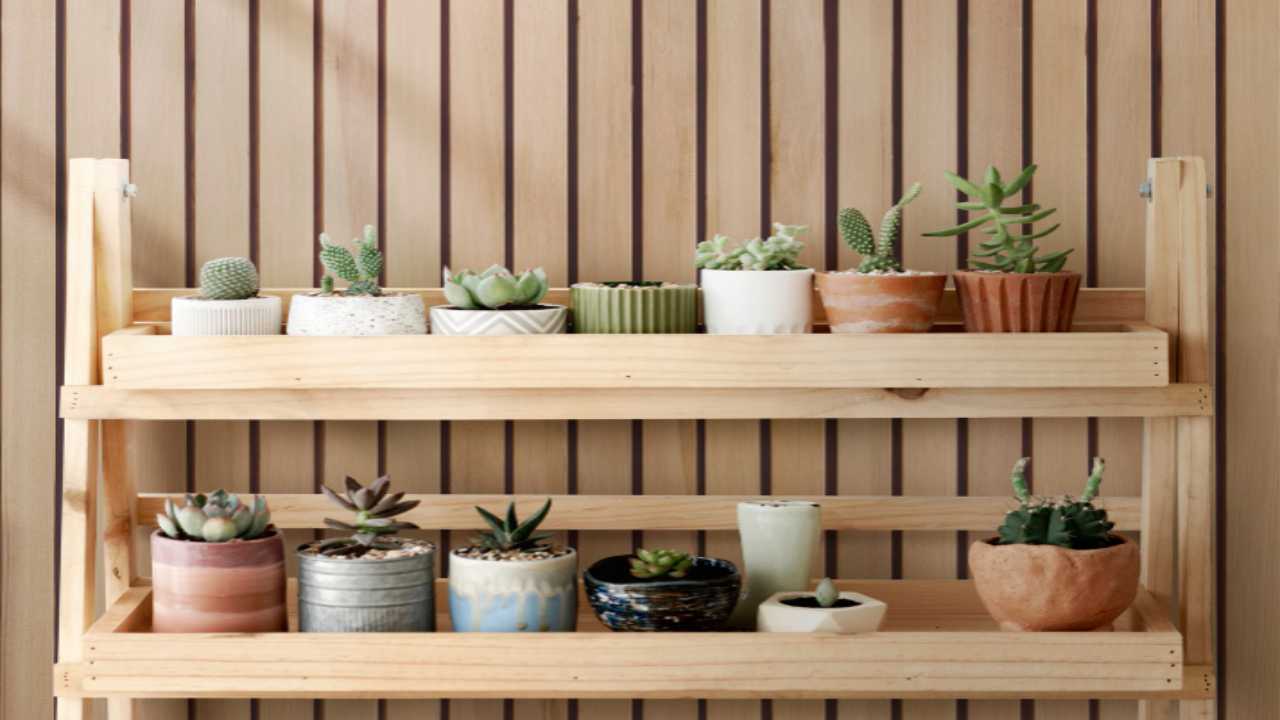
- Use Small Pots: If you prefer pots, you can adapt your pallet by adding small shelves or simply hang mini flowerpots on the slats. This method is easy to maintain, and the pots allow you to choose different types of soil for each plant.
Step 5: Maintenance Tips
- Watering: Keep in mind that vertical gardens tend to dry out faster due to the exposed surface area. Water the plants regularly, but be careful not to overdo it.
- Placement: Ensure your pallet is positioned in a spot with indirect sunlight. Too much sun can scorch the plants, while too little may stunt their growth.
- Fertilization: Depending on the plants you choose, occasional fertilization might be necessary to ensure healthy growth.
Small Garden or Herb Garden?
A vertical garden doesn’t have to be limited to flowers. You can also grow a small vegetable garden or herb garden on your balcony or indoors. Herbs like basil, mint, or thyme thrive in vertical gardens, providing both beauty and practical use in your cooking.
Final Thoughts
Creating a vertical garden with a pallet is an affordable and rewarding project that can transform any space in your home. Whether you’re growing flowers, herbs, or even vegetables, a green wall adds a touch of nature and style to your living area. With a little creativity and the right plants, you can enjoy a thriving garden year-round—without taking up too much space.