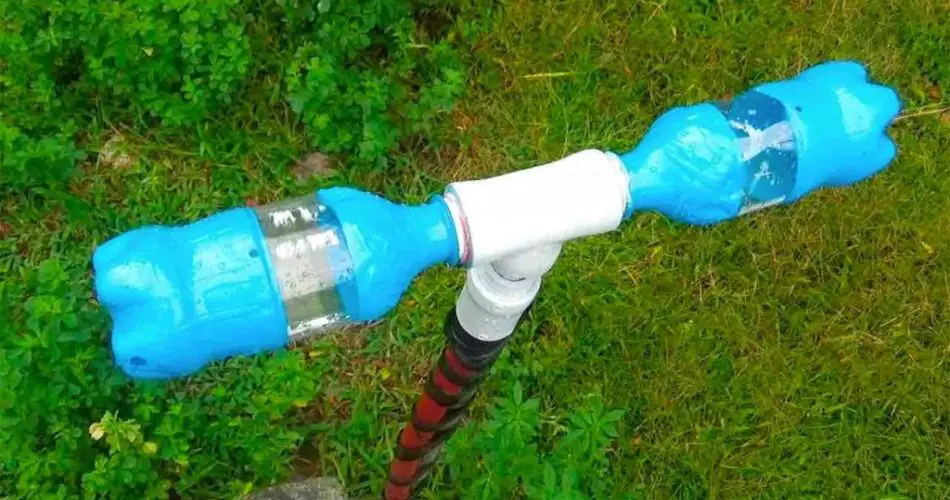
If you’re looking for a budget-friendly and easy-to-make solution to water your vegetable garden and garden, look no further! With just two plastic bottles and a few simple tools, you can create your very own rotating sprinkler that’s both effective and inexpensive.
What Is a Rotating Sprinkler and How Does It Work?
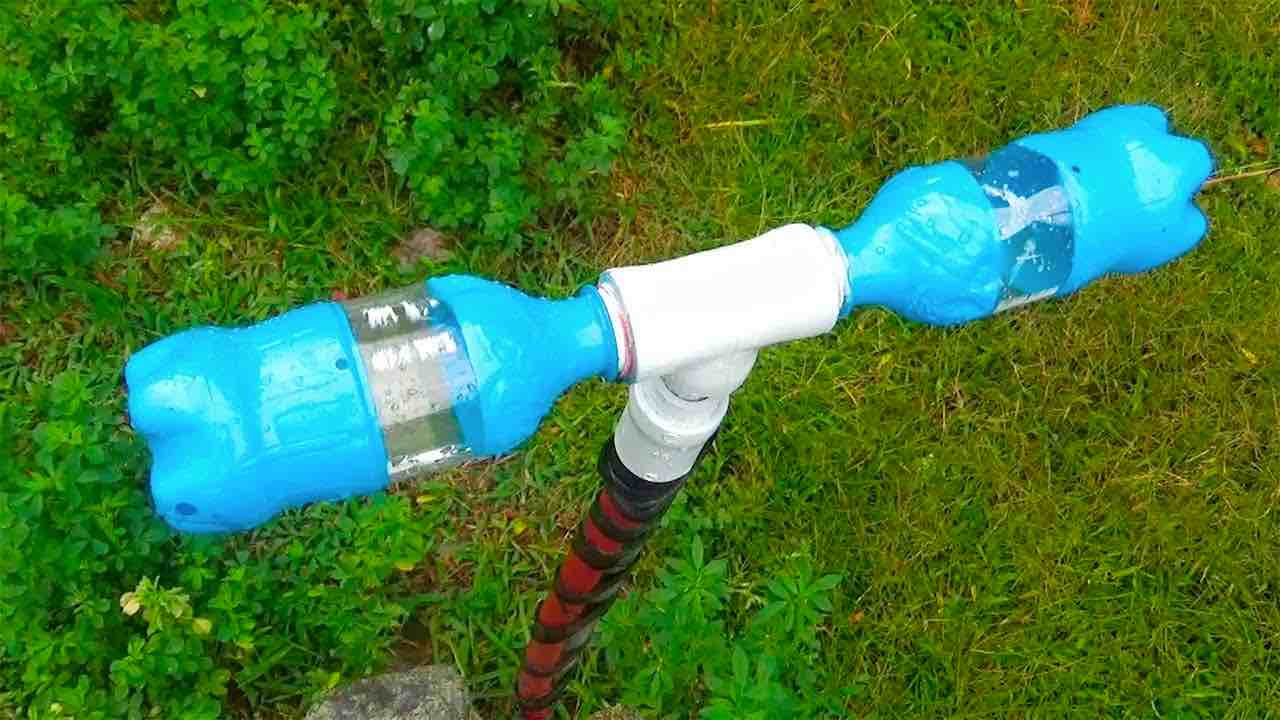
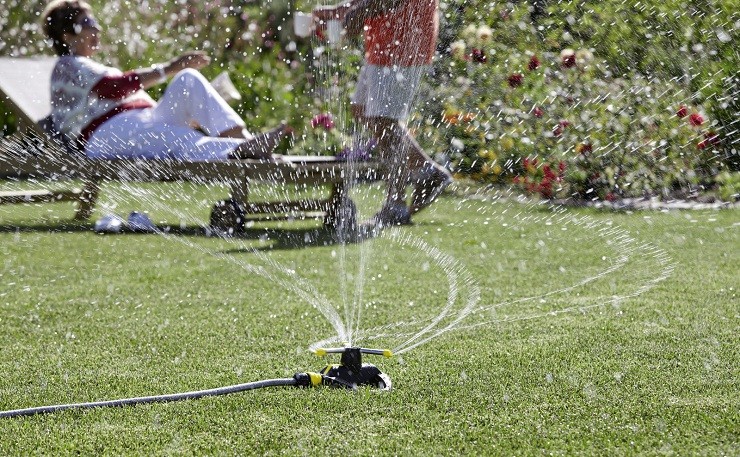
A rotating sprinkler is one of the most efficient tools for watering gardens and vegetable plots. It typically features a cylindrical plastic body with several arms from which water flows out. When water pressure is applied, the body rotates, allowing the water to be distributed evenly over your lawn or plants.
With a little patience, you can craft this tool yourself and save money, while still enjoying the convenience of a rotating sprinkler!
What You’ll Need to Make Your DIY Rotating Sprinkler
To make your own rotating sprinkler, you won’t need to buy anything expensive. You can recycle common household items, like plastic bottles. Here’s a list of the materials you’ll need:
- 2 plastic Coca-Cola bottles
- 2 ¾ connections with three ways (one in the center and two on the sides)
- A candle and matches
- A file and sandpaper
Step-by-Step Guide to Making the Rotating Sprinkler
Now that you have everything you need, let’s get started! Follow these simple steps to create your very own rotating sprinkler:
- Light the candle using a match to create a flame.
- Widen the side hole: Hold the fitting in front of the flame to soften it. Once softened, insert the neck of the bottle (cap included) into the side hole. Rotate the bottle to help the cap fit snugly inside the hole.
- Repeat for the second bottle: Perform the same procedure with the other bottle. Once both bottle necks fit into the side holes, turn off the flame and let the fittings cool.
- Widen the central hole: Light the candle again and soften the central hole of the fitting. Once softened, insert another fitting into the central hole, pressing it until it widens enough for the next step.
- Trim the ring: Using a file, saw off a small ring from the fitting, located next to the central hole. Smooth the edges with sandpaper to remove any rough spots.
- Attach the ring: Insert the ring into the central hole, pressing it firmly until it fits securely.
- Prepare the bottle caps: Sand down the caps of the bottles until only the thin outer circle remains. Cut out the center part and reattach the cap to the bottle neck.
- Insert the bottles: Place the modified bottle caps into the side holes of the fitting, ensuring a snug fit.
- Seal with glue and tape: Use glue to attach the ring to the central fitting and the caps to the side fittings. Wrap the bottle mouths with insulating tape for extra security.
- Create the water holes: Use an iron torch heated over the candle flame to make two small holes on each of the bottles.
Final Steps to Assemble and Use the Sprinkler
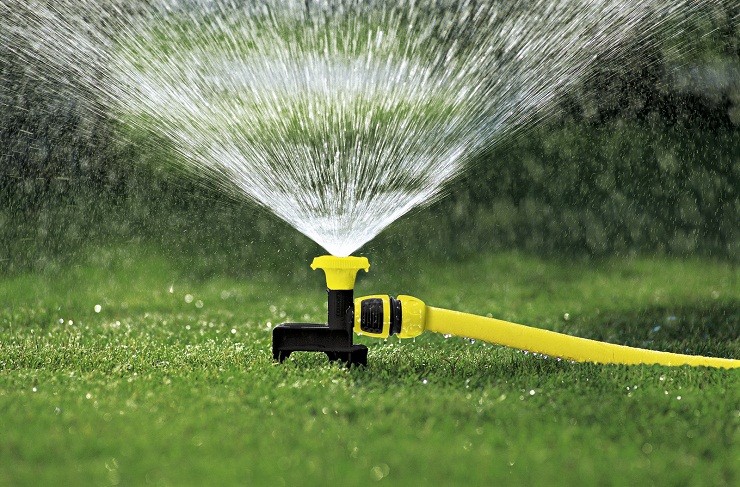
- Attach the sprinkler to the water tube: Insert one end of the water tube into the central fitting and secure it with glue. Use a ring nut to attach the tube securely.
- Test your rotating sprinkler: Once everything is assembled, your rotating sprinkler is ready to be placed in your garden! Connect it to a water source, turn it on, and watch as the water flows evenly across your plants.
Conclusion
By following these simple steps, you’ll have an economical rotating sprinkler that works just as well as store-bought models, without the high cost. With a little effort, you can keep your vegetable garden and plants well-watered all season long!