Here are 5 steps to save a dying orchid:
Step 1: Observe the Orchid to Determine the Problem:
- Examine the orchid’s leaves and roots carefully to identify the issue.
- Wilting leaves may indicate dormancy, while yellow leaves may signal disease, and dark green leaves may suggest a lack of light.
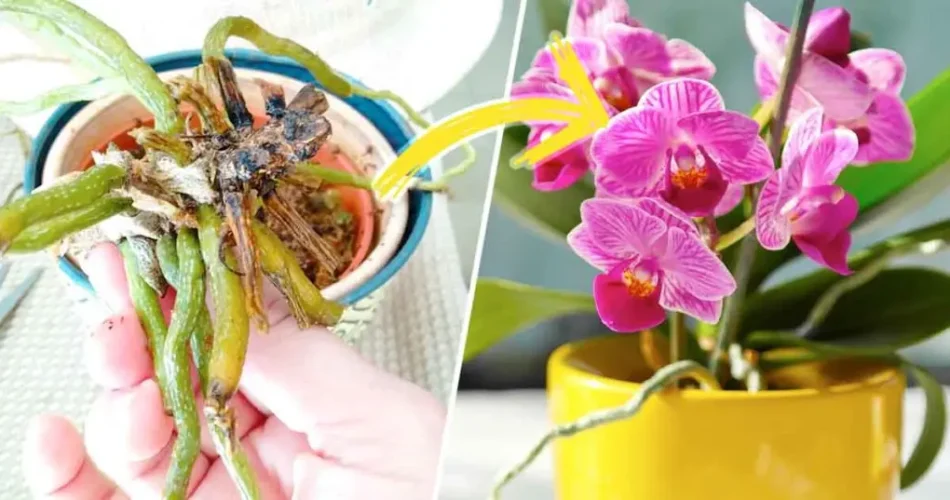
- A dying orchid will have dehydrated leaves and soft, brown, or black roots due to excess water causing root rot.
Step 2: Clean the Orchid Roots:
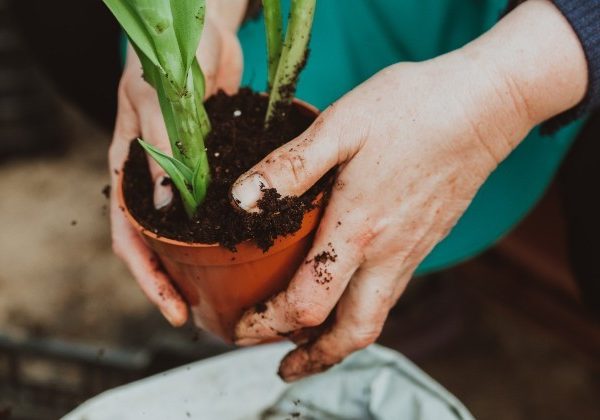
- Gently remove the orchid from its pot and clean the roots by removing soil and debris.
- Rinse the roots with water to remove any remaining debris.
Step 3: Cut the Dead Roots of the Orchid:
- Use pruning shears or sterilized scissors to trim away any roots that are soft, mushy, brown, or black.
- Only retain roots that are green or have green tips.
- If the stem is affected by rot, prune it just below the leaves, and remove dehydrated or damaged leaves and petals.
Step 4: Repot the Orchid:
- Choose a transparent plastic pot for repotting to monitor root health easily.
- Use a potting mix consisting of bark pieces, charcoal fibers, sphagnum moss, or a combination.
- Place clay balls at the bottom of the pot for drainage.
- Lightly water the pot to moisten the soil.
Step 5: Help the Orchid Grow Again:
- Position the orchid in a bright location with partial shade to avoid direct sunlight, which can damage the foliage.
- Maintain a temperature between 18°C and 21°C, away from drafts and heat sources.
- Ensure humidity by misting the foliage occasionally and using non-calcareous water at room temperature for watering.
- Prevent pests and parasites by regularly inspecting the orchid and removing any insects.
Following these steps will give your orchid the best chance of recovery and preparing it for new blooms, enhancing the beauty of your home with its stunning flowers.
Show Comments