Discover easy-to-install drip irrigation systems for your garden or orchard
Creating a homemade drip irrigation system doesn’t have to be complicated. With just a few plastic bottles, you can effectively hydrate your plants while conserving water and minimizing the risk of over-watering.
This DIY approach is particularly useful for times when you’re away from home and unable to tend to your plants regularly. By slowly dispensing water directly to the soil, these systems ensure that your plants receive just the right amount of hydration, preventing root rot and promoting healthy growth.
If you’re new to gardening and interested in exploring drip irrigation methods using plastic bottles, here are three simple options to consider:
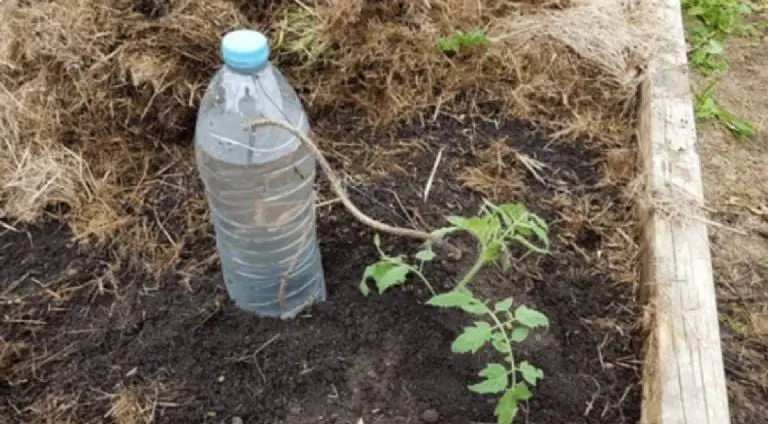
1. Cord or Fabric Irrigation
Poke a hole in the top of a plastic bottle and insert a thick cord or piece of cotton fabric. As the fabric absorbs water, it slowly releases moisture into the soil, providing a steady supply of hydration to your plants.
2. Screw-Based System
Create small drainage holes in the sides of a plastic bottle by inserting screws or perforated screw caps. These holes allow water to drip out gradually, ensuring consistent watering for your crops.
3. Gravity Drip System
Elevate one end of a plastic bottle and poke a small hole near the bottom. Fill the bottle with water and place it above your plants. Gravity will cause the water to slowly drip out, providing a steady supply of hydration to the soil.
By repurposing plastic bottles in these creative ways, you can set up efficient drip irrigation systems for your garden or orchard. Experiment with different methods to find the one that works best for your specific needs and enjoy the benefits of healthier, happier plants.


