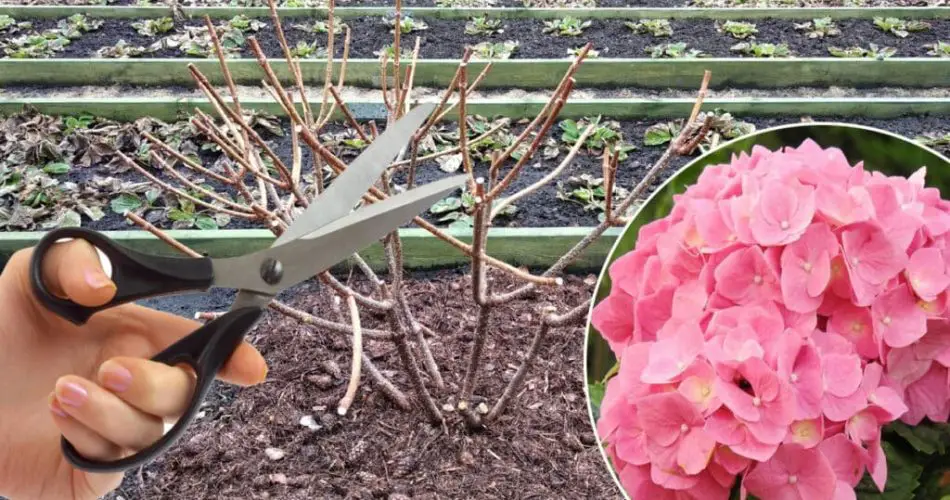
Pruning hydrangeas in the spring is crucial for maintaining their health and encouraging abundant blooms. Here’s a comprehensive guide to help you prune your hydrangeas properly:
1. Identify the Type of Hydrangea
Before pruning, it’s essential to know which type of hydrangea you have, as different types require different pruning techniques:
- Bigleaf Hydrangea (Hydrangea macrophylla): Includes mophead and lacecap varieties.
- Smooth Hydrangea (Hydrangea arborescens): Commonly known as Annabelle hydrangeas.
- Panicle Hydrangea (Hydrangea paniculata): Known for their conical flower clusters.
- Oakleaf Hydrangea (Hydrangea quercifolia): Recognizable by their oak-shaped leaves.
2. Timing for Pruning
- Early Spring: The best time to prune most hydrangeas is early spring, just as new growth begins. This timing allows you to shape the plant and remove any winter damage without sacrificing too many potential flowers.
3. Gather the Right Tools
- Sharp Pruners: Use clean, sharp pruners to make precise cuts.
- Gloves: Wear gloves to protect your hands.
- Disinfectant: Keep a disinfectant handy to clean your tools between cuts to prevent disease spread.
4. Pruning Steps by Hydrangea Type
Bigleaf and Oakleaf Hydrangeas:
- Deadheading: Remove spent blooms just below the flower head.
- Shape and Thin: Cut back any overly long or straggly stems to maintain shape. Remove any weak or spindly growth.
- Minimal Pruning: These types bloom on old wood (last year’s growth), so avoid heavy pruning which can reduce flowering.
Smooth Hydrangeas:
- Cut Back Hard: Prune all stems back to about 6-12 inches above the ground. This type blooms on new wood (current year’s growth), so hard pruning encourages vigorous new growth and larger blooms.
Panicle Hydrangeas:
- Moderate Pruning: Remove the oldest, thickest stems to the base and cut back remaining stems by about one-third. This encourages strong, new growth and enhances the structure of the plant.
- Shape and Size Control: Regularly shape and control the size of the plant by removing any awkwardly placed stems.
5. General Pruning Tips
- Remove Dead and Damaged Wood: Start by cutting out any dead, damaged, or diseased wood to improve the overall health of the plant.
- Cut at an Angle: Make cuts at a 45-degree angle just above a pair of healthy buds. This prevents water from sitting on the cut surface, which can lead to rot.
- Encourage Air Circulation: Open up the center of the plant by removing some of the oldest stems at the base. This improves air circulation and reduces the risk of disease.
6. Post-Pruning Care
- Fertilize: After pruning, apply a balanced, slow-release fertilizer to encourage healthy growth and abundant blooms.
- Watering: Ensure the plant receives adequate water, especially during dry spells. Water deeply to encourage deep root growth.
- Mulching: Apply a layer of mulch around the base of the plant to help retain moisture and suppress weeds.
Summary
Properly pruning hydrangeas in the spring is essential for promoting lush flowering and maintaining plant health. By identifying your hydrangea type and following the appropriate pruning techniques, you can ensure a season full of beautiful, vibrant blooms. Regular care and attention to detail will help your hydrangeas thrive and become a stunning focal point in your garden.