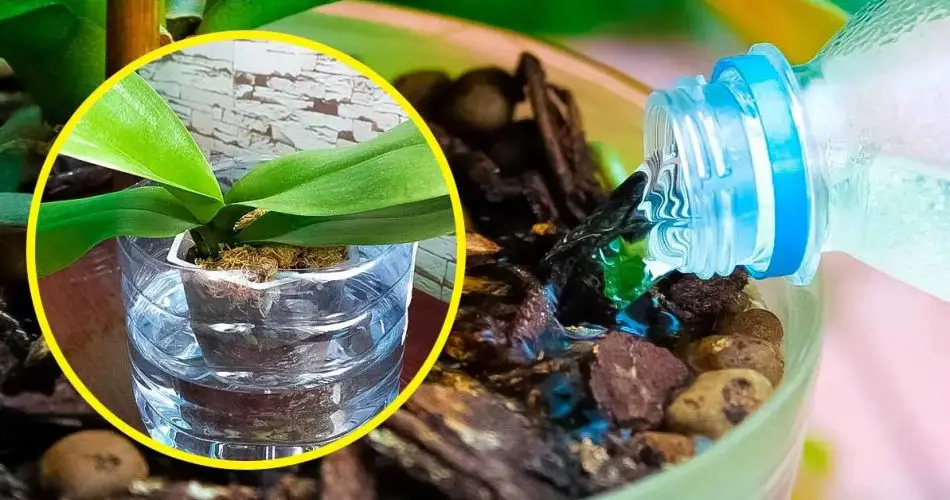
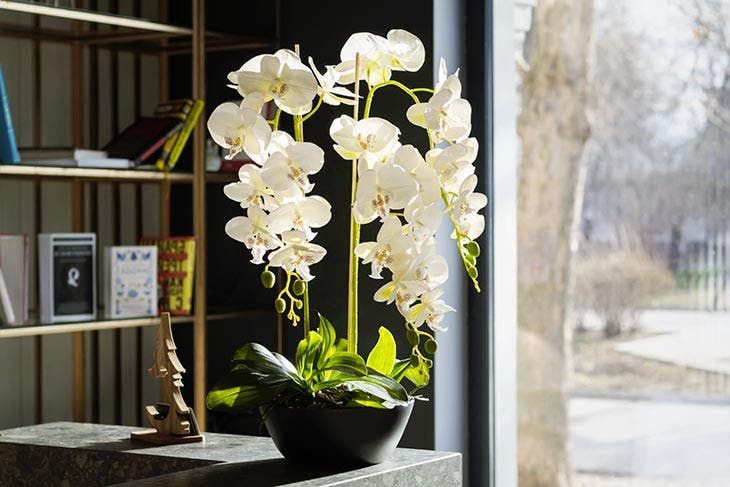
Orchids are beloved tropical plants known for their beauty and long-lasting flowering. However, over time, their roots can overflow the pot, leading to dryness and rot. In addition to repotting, consider propagating your orchids! This guide will show you a simple trick to do it at home.
Orchid: A Brief History
The orchid family boasts over 25,000 species, captivating plant lovers for centuries with their stunning shapes and colors. These exquisite flowers appeared nearly 200 million years ago and have spread worldwide. The earliest reference to orchids can be found in “Inquiry into Plants,” written by Theophrastus around 300 BC, often considered the father of botany. The term “orchid” was coined in the 1st century by Pedanius Dioscorides, a Greek botanist, in his work “De Materia Medica,” which documented medicinal plants. With their popularity, many enthusiasts have shared tips on reproducing orchids. Here, we present a straightforward method for propagation.
How to Propagate an Orchid Using the Plastic Bottle Trick
You don’t need to be an expert or have a green thumb to successfully propagate orchids at home. All you need is a plastic bottle and a few minutes of concentration. Follow these steps:
Materials Needed:
- At least 2 orchid branches
- A bit of Sphagnum moss
- 2 elastic bands
- An empty plastic bottle
- A cutter or scissors
- A little alcohol (for sterilizing)
Steps to Propagate an Orchid:
- Cutting the Orchid:
Using sterilized scissors or a cutter, take a cutting from your plant. You can also split a single cutting in half to create two equal-sized stems. If present, cut off the flower. - Prepare the Moss:
Place the moss in a bowl, spray it with a little water, and squeeze it to hydrate. Sphagnum moss is ideal for orchids as it creates a tropical environment around the roots. - Wrap the Cuttings:
Wrap the hydrated moss around the end of each cutting and secure it with elastic bands to keep it in place. - Prepare the Plastic Bottle:
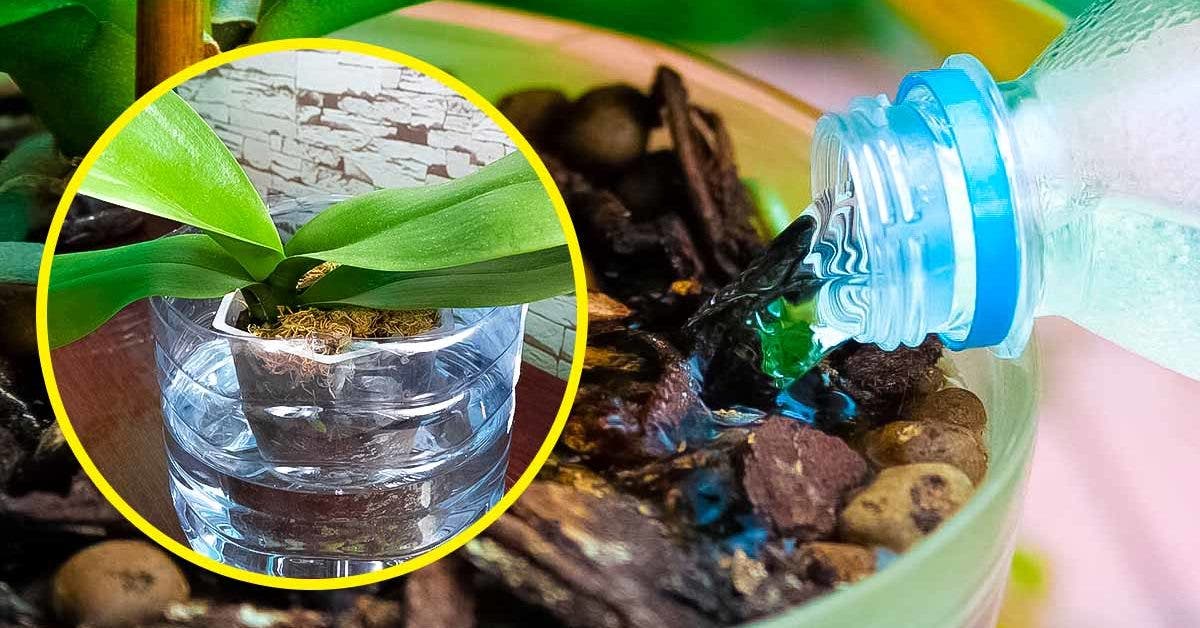
Cut the plastic bottle in half to fit the two parts together. Fill the bottom half with 2 centimeters of water, then place your cuttings inside, ensuring the moss is submerged. - Assemble the Bottle:
Close the bottle by inserting the top part into the bottom. Poke a few holes in the cork using a needle or awl (heating the needle can make this easier). - Placement:
Close the bottle and place it in a well-lit area for 2 weeks. Keep it away from drafts and excessive heat. - Planting the Cuttings:
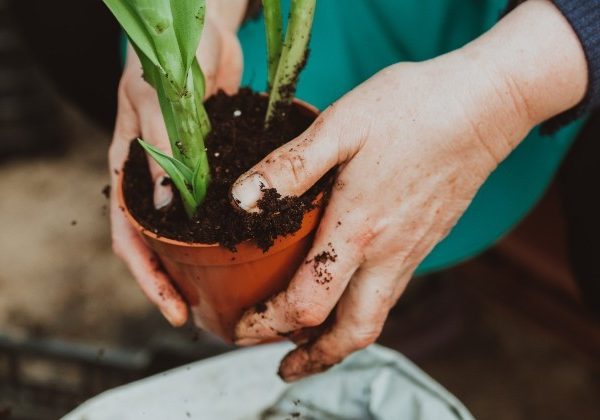
Once roots appear, it’s time to plant the cuttings in a pot.
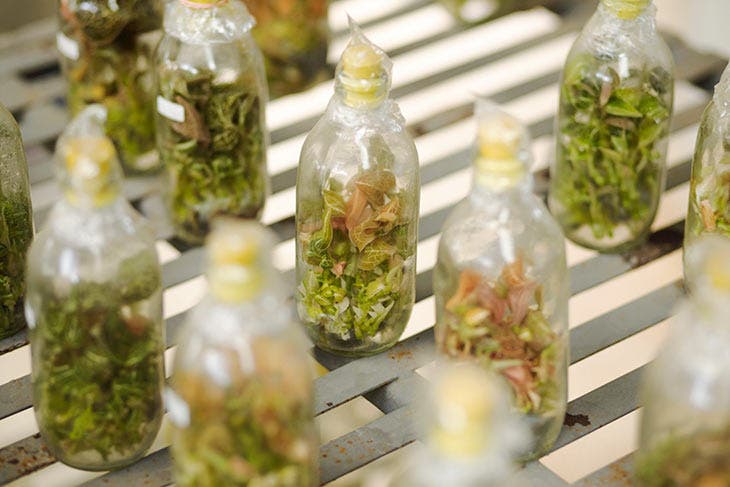
With this simple trick, you can easily propagate orchids at home and enjoy their beautiful, refined flowers!