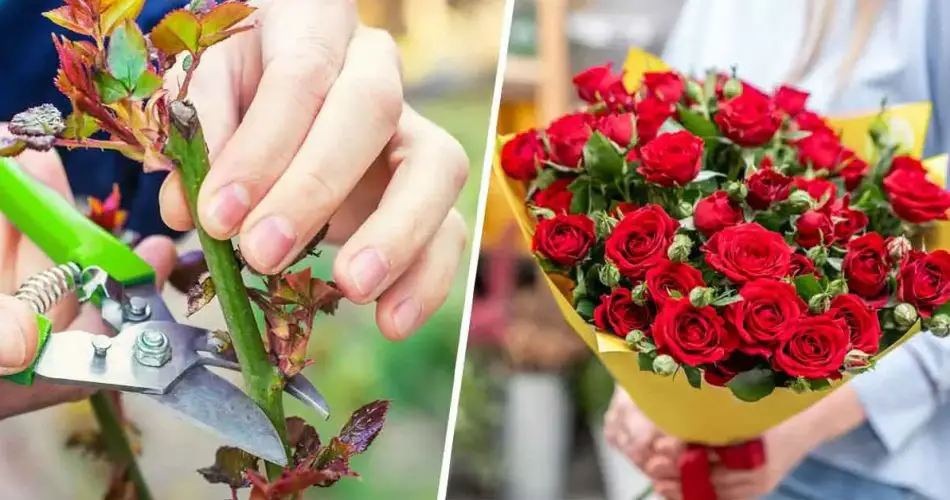
Are you a fan of roses but tired of buying fresh flowers every week? Here’s a simple, effective tip that can save you both time and money. Thanks to the expert advice of Hadrien Ledoux, a florist from Cantal, we’ve discovered a straightforward way to reproduce roses at home. This technique, called cutting, allows you to grow new roses from a single stem. Imagine having a garden full of your favorite flowers, all year round—without spending a fortune. Plus, this technique will surely attract the admiration of anyone who lays eyes on your beautiful roses!
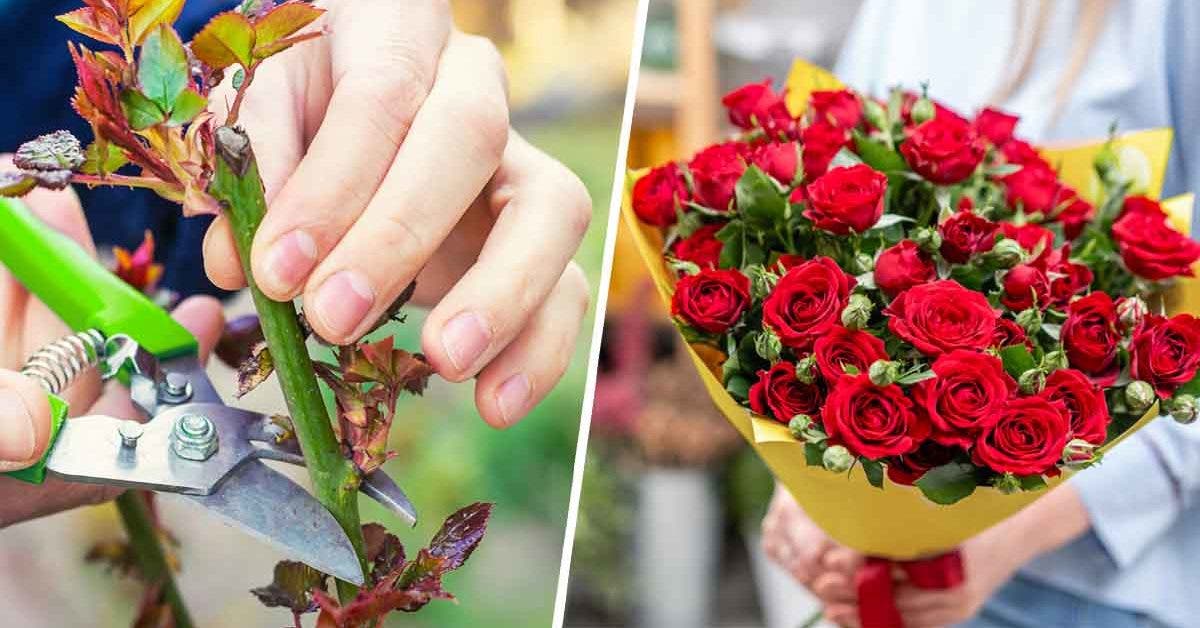
How to Care for a Rose Bush
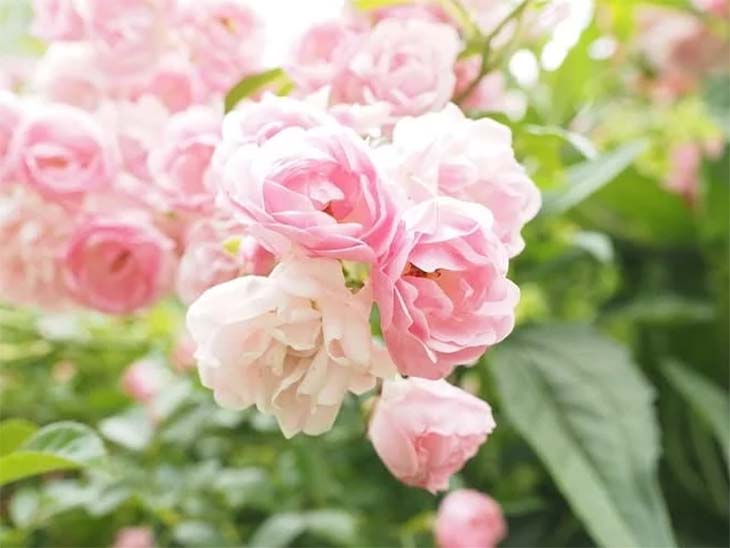
If you love roses and dream of having your own climbing or shrub roses at home, there’s an easy way to create a rose bush from a single rose stem. Luckily, rose bushes are not difficult to maintain. They thrive in deep, fertile, and well-drained soil, which aids in their rooting process. Whether you’re planting ground cover roses, rambling roses, or English roses, the process is simple and requires minimal maintenance. Regular watering and full sun exposure are key to success.
Once you understand how to take cuttings, you can propagate your favorite rose species to expand your garden. Cuttings preserve the beauty and fragrance of your beloved roses, filling your garden with their fresh and fruity scents. Here’s how you can start growing your own roses from just one stem.
How to Plant a Shrub Rose from a Single Stem
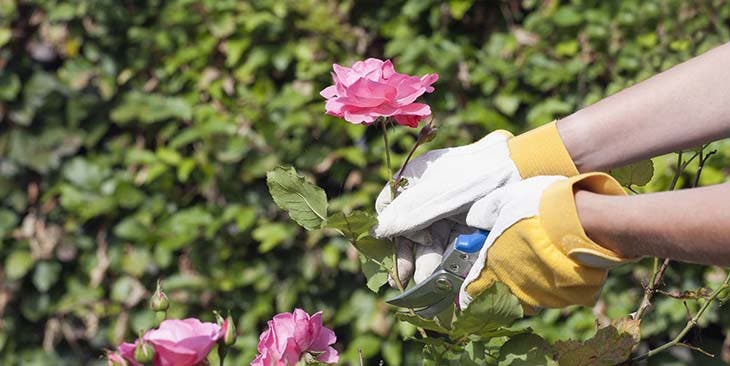
If you want to create a new rose bush from a single stem, follow these steps:
Step 1: Find the Ideal Location
Select a spacious, sunny location for your new rose plants. Dig a hole about 15 cm deep and fill it with sand. The spot should be clear of any weeds and far enough away from walls or balconies. Roses require plenty of full sun to thrive and bloom optimally. If you’re unsure about the soil, you can also use a plant pot for your cuttings.
Step 2: Prepare the Stems for Cutting
Choose healthy stems from your flowering rose bush. They should be 20 to 25 centimeters long and smooth. Carefully remove the thorns from the part of the stem that will be buried in the soil.
Step 3: Clean the Stems
Soak the rose stems in water to clean them. This step will help eliminate any impurities and prepare the stems for successful rooting.
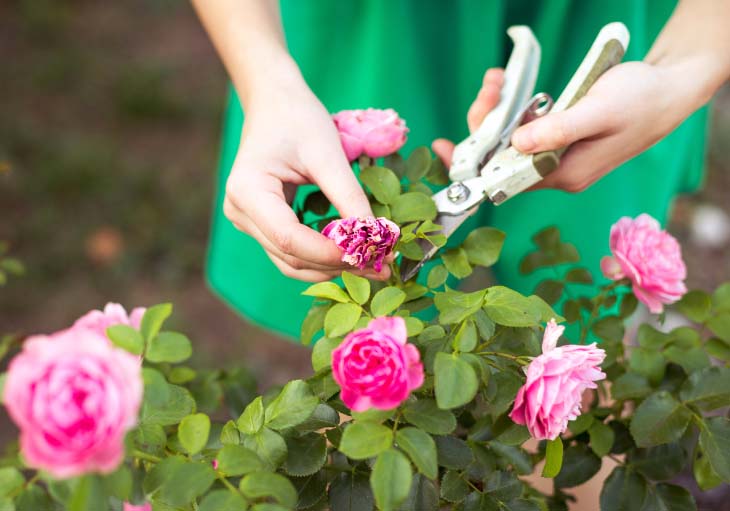
Step 4: Prepare the Soil
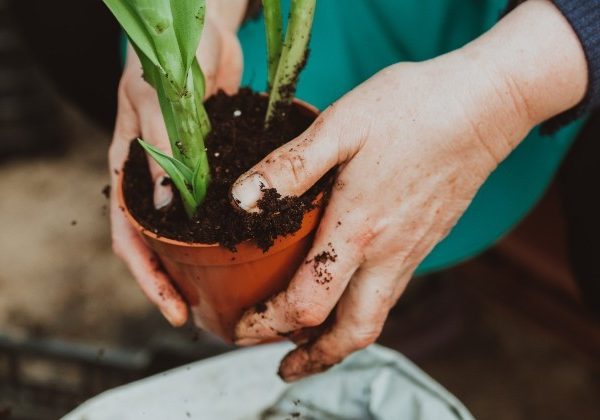
Fill a pot with a special cutting soil and a layer of sand. Insert the rose stems into the pot, ensuring the bottom part of the stem is buried about 5 centimeters deep.
Step 5: Protect the Stems
To prevent the cuttings from becoming too damp, cover them with a bell jar or a clear plastic cover. This helps create a humid environment and encourages the stems to take root. Keep the cuttings under the bell jar for about 15 days.
Step 6: Plant Once Rooted
After 15 days, once you see roots emerging from the drainage holes in the pot, it’s time to remove the bell jar. You can then carefully plant the rooted cuttings in open ground.
The Secret to Successful Cuttings
The key to growing roses from cuttings is patience. It may take several weeks or even months for the stems to root properly. Once the first buds appear, you’ll know your cuttings are ready for their permanent home in the garden. With a little care, your rose bush will bloom beautifully.
This cutting technique isn’t limited to just outdoor roses; it works for many indoor plants as well. Simply cut a stem from your plant, place it in water, and wait for the roots to develop before transferring it to soil.
With just a single stem, you can enjoy a flourishing garden full of your favorite roses, bringing a romantic touch to your outdoor space. Happy gardening!
