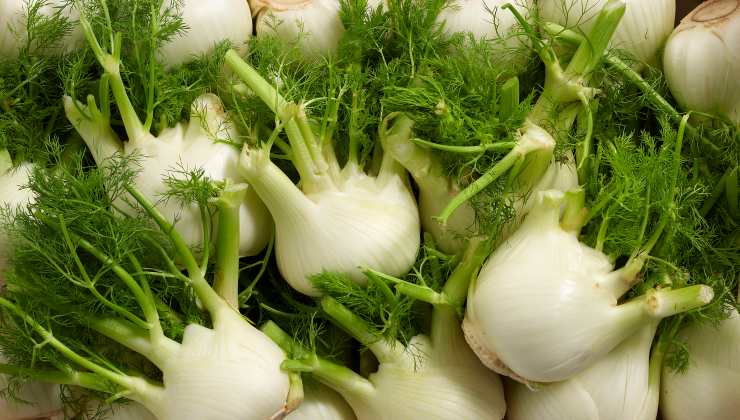
If you’re planning to grow fennel this year, September is the perfect time to start. This versatile vegetable, with its unique flavor, is ideal for enriching salads, making delicious side dishes, or enjoying both raw and cooked. Whether you love it or not, there’s no denying that growing fennel in your own garden can make it even more flavorful. However, growing fennel requires some knowledge and the right techniques, especially when it comes to transplanting. Here’s the best method to transplant fennel and help it thrive.

Why September is Ideal for Growing Fennel
Fennel thrives in cooler temperatures, making September the perfect month for planting. As the scorching heat fades and temperatures drop, fennel can flourish. The ideal temperature for fennel growth ranges from 20°C to 30°C. If the temperature drops below 6°C, fennel begins to deteriorate, so it’s essential to plant it in favorable conditions.
Choosing the Right Soil for Fennel
When transplanting fennel, start with the right soil. Fennel grows best in soil that is:
- Rich in organic matter
- Well-drained
- Free of debris or rocks
The soil should be moist but not waterlogged. Make sure the area is well-drained to avoid water stagnation, which could harm the plant.
Sunlight and Space Requirements for Fennel
Fennel requires full, abundant sunlight to grow strong and healthy. Choose a sunny spot in your garden to plant it. Additionally, fennel needs enough space to spread out. Make sure to leave at least 20 cm between each fennel plant to allow for optimal growth.
How to Transplant Fennel: Step-by-Step
Transplanting fennel is a simple process, and it can be an excellent way to get a head start on your crop. Follow these steps for the best results:
- Prepare the Soil:
Start by preparing the soil. Dig a shallow trench or row where you plan to transplant your fennel. The row doesn’t need to be too deep, just enough to accommodate the root system of the fennel. - Create Holes for Transplanting:
Use a garden trowel to dig individual holes along the row. Insert the fennel roots carefully, leaving the small leaves at the ends of the roots exposed above the soil. - Space the Plants:
It’s essential to keep enough distance between each fennel plant. 20 cm between plants is the ideal spacing to ensure healthy growth and to allow room for the roots to spread. - Water Carefully:
After transplanting, water the fennel gently to settle the soil. Be careful not to wet the leaves during this process, as excessive moisture on the leaves can lead to fungal issues. Water the plants every morning, but avoid overwatering. The soil should remain moist, not soggy. - Wait for Growth:
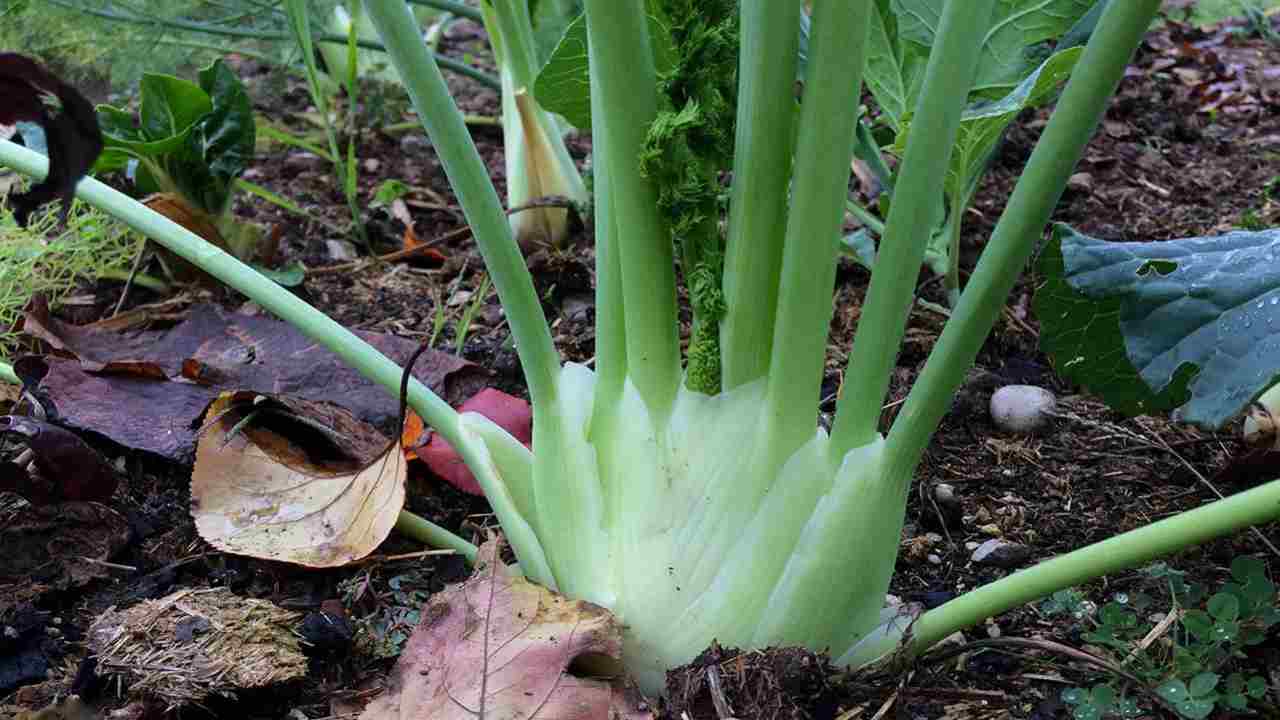
In just a few weeks, your fennel plants will start to emerge from the soil. Over time, they will grow in size, and you’ll soon be able to harvest your flavorful, homegrown fennel!
Conclusion: Enjoying Fresh Fennel from Your Garden

By following these steps, you’ll have healthy, vibrant fennel plants ready for harvest in just a few weeks. September is the perfect month to get started, and with the right care and attention, your fennel will thrive. Whether you’re using it in salads, cooking it as a side dish, or simply enjoying it in your favorite recipes, homegrown fennel adds a unique and delicious touch to any meal. So, grab your gardening tools and get ready to transplant fennel this season!


