When you have indoor plants or a garden, being away for a long time can be challenging, especially if your plants need frequent watering. Some plants, like seedlings, thrive in humidity and require regular watering to prevent them from wilting and drying out, particularly in hot weather. One great solution to keep your plants hydrated is by making self-watering pots. Here’s how to create them using plastic bottles!

How to Make a Self-Watering Pot from a Plastic Bottle
To make a self-watering pot, you only need a few simple materials:

- Plastic Bottle: Clean and dry, with the label removed.
- Sharp Knife: To cut the bottle.
- String: The same size as the bottle.
- Potting Soil: To fill the top of the bottle.
- Water: To fill the bottom of the bottle.
Steps to Create Your Self-Watering Pot:

- Cut the Plastic Bottle: Cut the bottle 2/3 of the way from the base. Both parts of the bottle will be used.
- Prepare the Cap: Unscrew the cap and drill a hole in the center.
- Insert the String: Fold a string in half, pass it through the hole, and tie it securely inside the cap.
- Fill the Bottom: Add water to the bottom part of the bottle.
- Assemble the Pot: Turn the top part of the bottle upside down (cap side down) and insert it into the bottom. Ensure that the string is soaked in water.
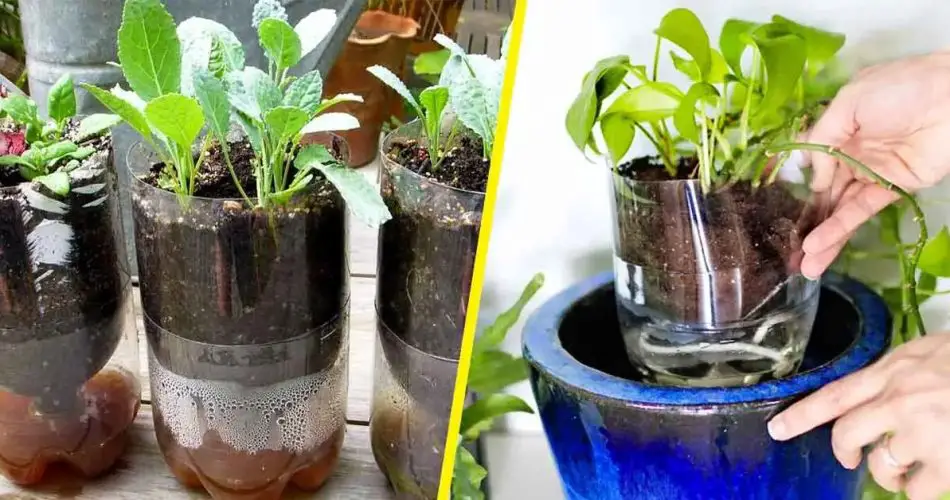
- Add Soil and Plant: Fill the top portion with potting soil and plant your seeds or seedlings.
This self-watering system helps maintain moisture, creating a greenhouse effect that promotes healthy growth. The string draws water up from the bottom, keeping the soil constantly moist.
When to Transplant:
Once your plants have grown to about 10 cm in height, you can transplant them into larger pots or the ground, depending on the season and the plant’s requirements.
However, note that self-watering pots are not suitable for all plants. Some plants, such as succulents, do not thrive in consistently moist soil, as they have the ability to store water in their fleshy tissues and prefer dry conditions.
Drip Irrigation System from a Plastic Bottle

If you’re looking for a longer-term solution to keep your plants hydrated while you’re away, consider setting up a drip irrigation system using a plastic bottle. This method is especially useful for larger plants in pots or for a garden.
- Choose the Right Bottle: For potted plants, use a 1.5 L bottle, or for garden plants, a 5 L bottle.
- Prepare the Bottle: Unscrew the cap and pierce a small hole in the center.
- Fill with Water: Fill the bottle with water, replace the cap, and invert it.
- Install the System: Push the neck of the bottle into the ground near the plant. The water will gradually drip out, providing a steady supply of moisture.
This micro-irrigation system is cost-effective and helps ensure your plants are consistently watered.
Tips for Successful Watering:
- Foliage Health: Always monitor the foliage of your plants to determine if they are under-watered or over-watered. Yellowing leaves and drooping indicate water stress.
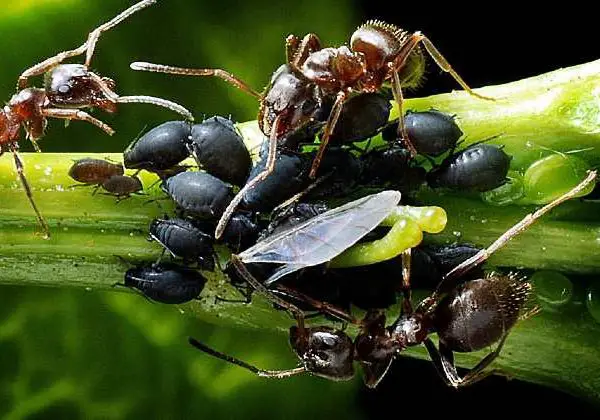
- Excess Water: Too much water can suffocate plant roots and encourage pests. Be sure to remove any stagnant water from saucers or flowerpots.
- Adjust Watering for Seasons: Plants require less water during winter months. In summer, they may need more frequent watering.
- Water Temperature: Always use room temperature water—preferably rainwater—as cold or hot water can shock the plant and damage its roots.
By following these simple steps and tips, your plants will stay hydrated, even when you’re away!