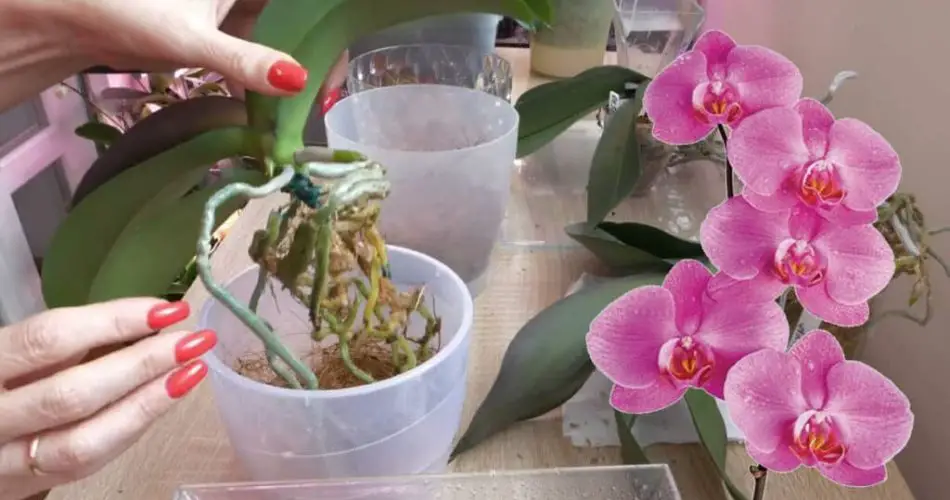
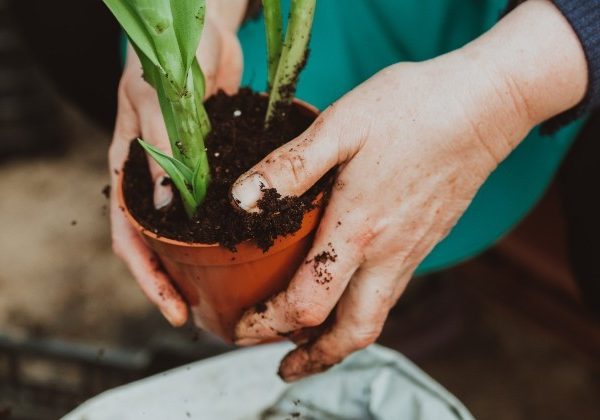
Orchids, revered for their elegance and allure, captivate the hearts of plant enthusiasts worldwide. To ensure these exquisite beauties thrive and flourish, proper transplanting techniques are paramount. Here are the key steps to transplanting an orchid for optimal growth and adaptation:
1. Adaptation Period:
Allow your newly acquired orchid to acclimate to its new environment for about a week before transplanting. This adjustment period ensures the plant is ready for the transition and reduces stress.
2. Selection of Pot:
Choose a transparent pot without holes for transplanting. This type of pot facilitates adequate ventilation and protects the delicate roots from damage during the transplanting process.
3. Layered Potting Medium:
Layer the potting medium carefully to provide optimal conditions for the orchid’s roots. Begin with a base of expanded clay, followed by layers of sphagnum moss, pine bark, and specialized orchid soil. Secure the roots with pine bark and ensure the medium is evenly distributed to promote healthy growth.
4. Root Inspection:
Before planting, thoroughly inspect the orchid’s roots for any signs of damage or rot. Addressing any issues at this stage ensures the plant starts off on the right foot and promotes robust growth.
While caring for orchids may seem intricate, mastering the art of transplanting them is not as daunting with the right approach. By following these essential steps, you’ll provide your orchid with the best chance to thrive and grace your space with its exotic charm for years to come. Give your orchid the care it deserves, and it will reward you with its timeless beauty.


